Quietly Stitching

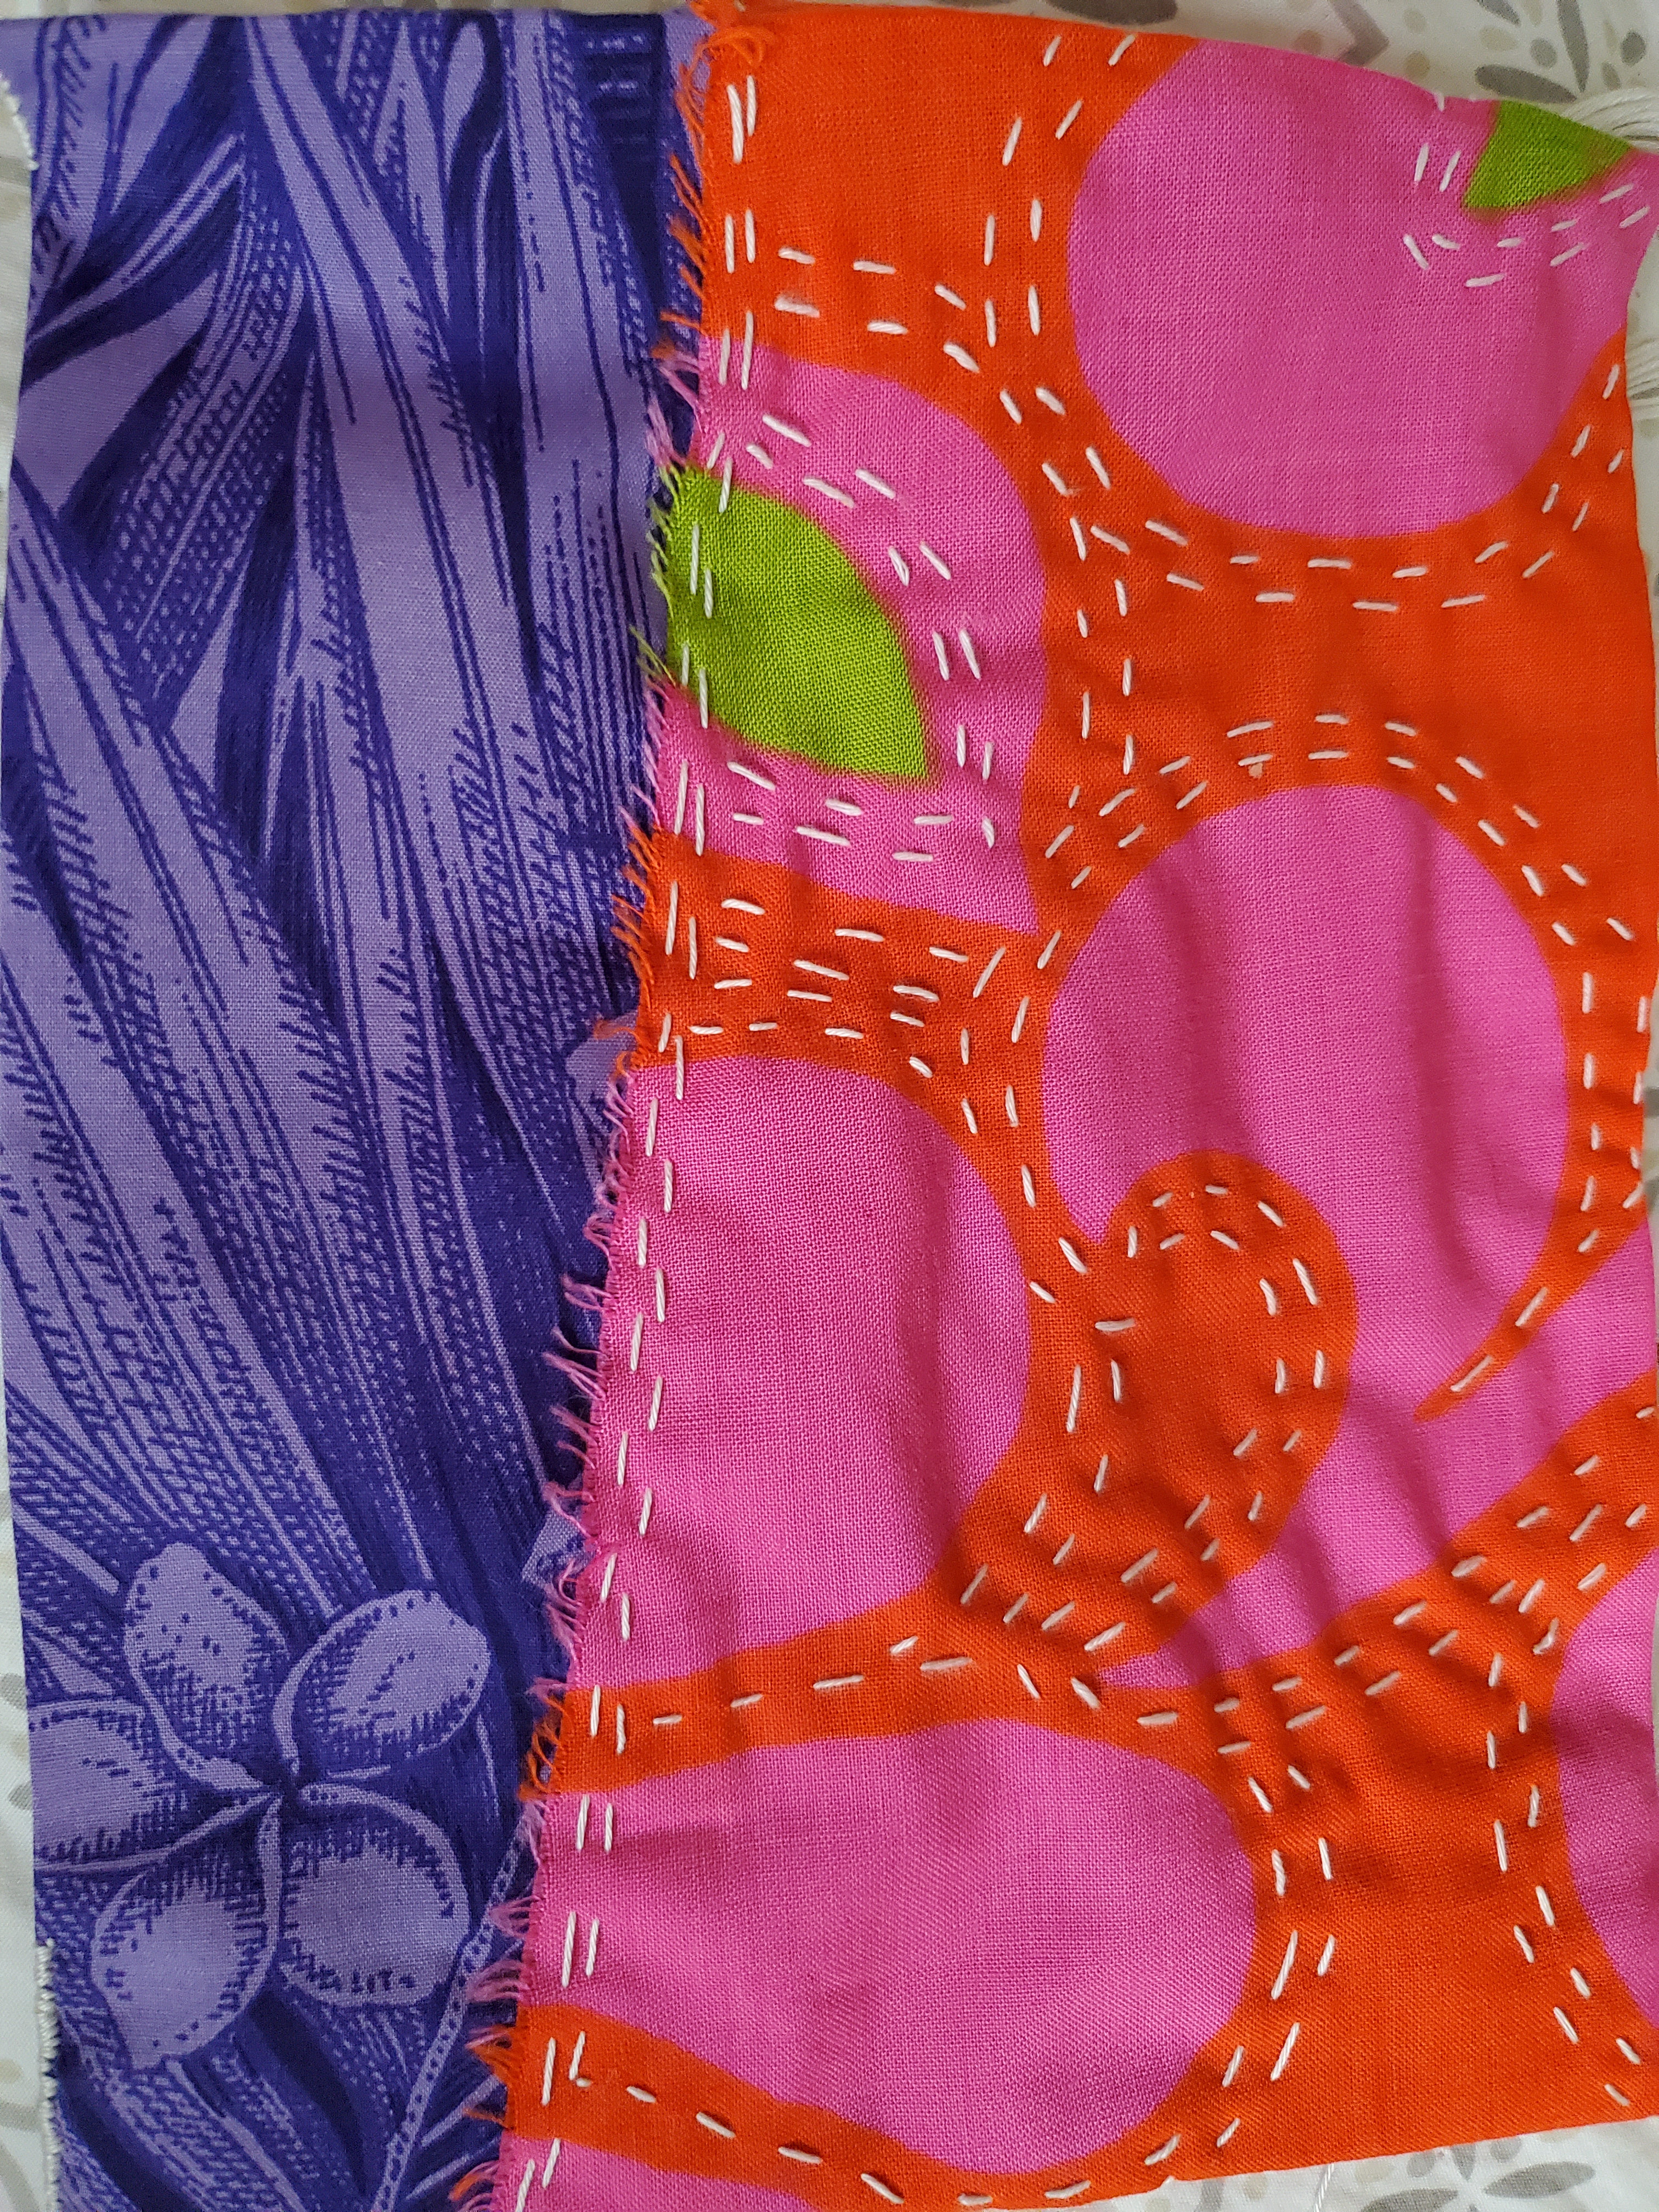
The holidays were a cold (in Hawaii temps) and wet one. I made use of being inside by hand stitching projects that were waiting for their patiently.

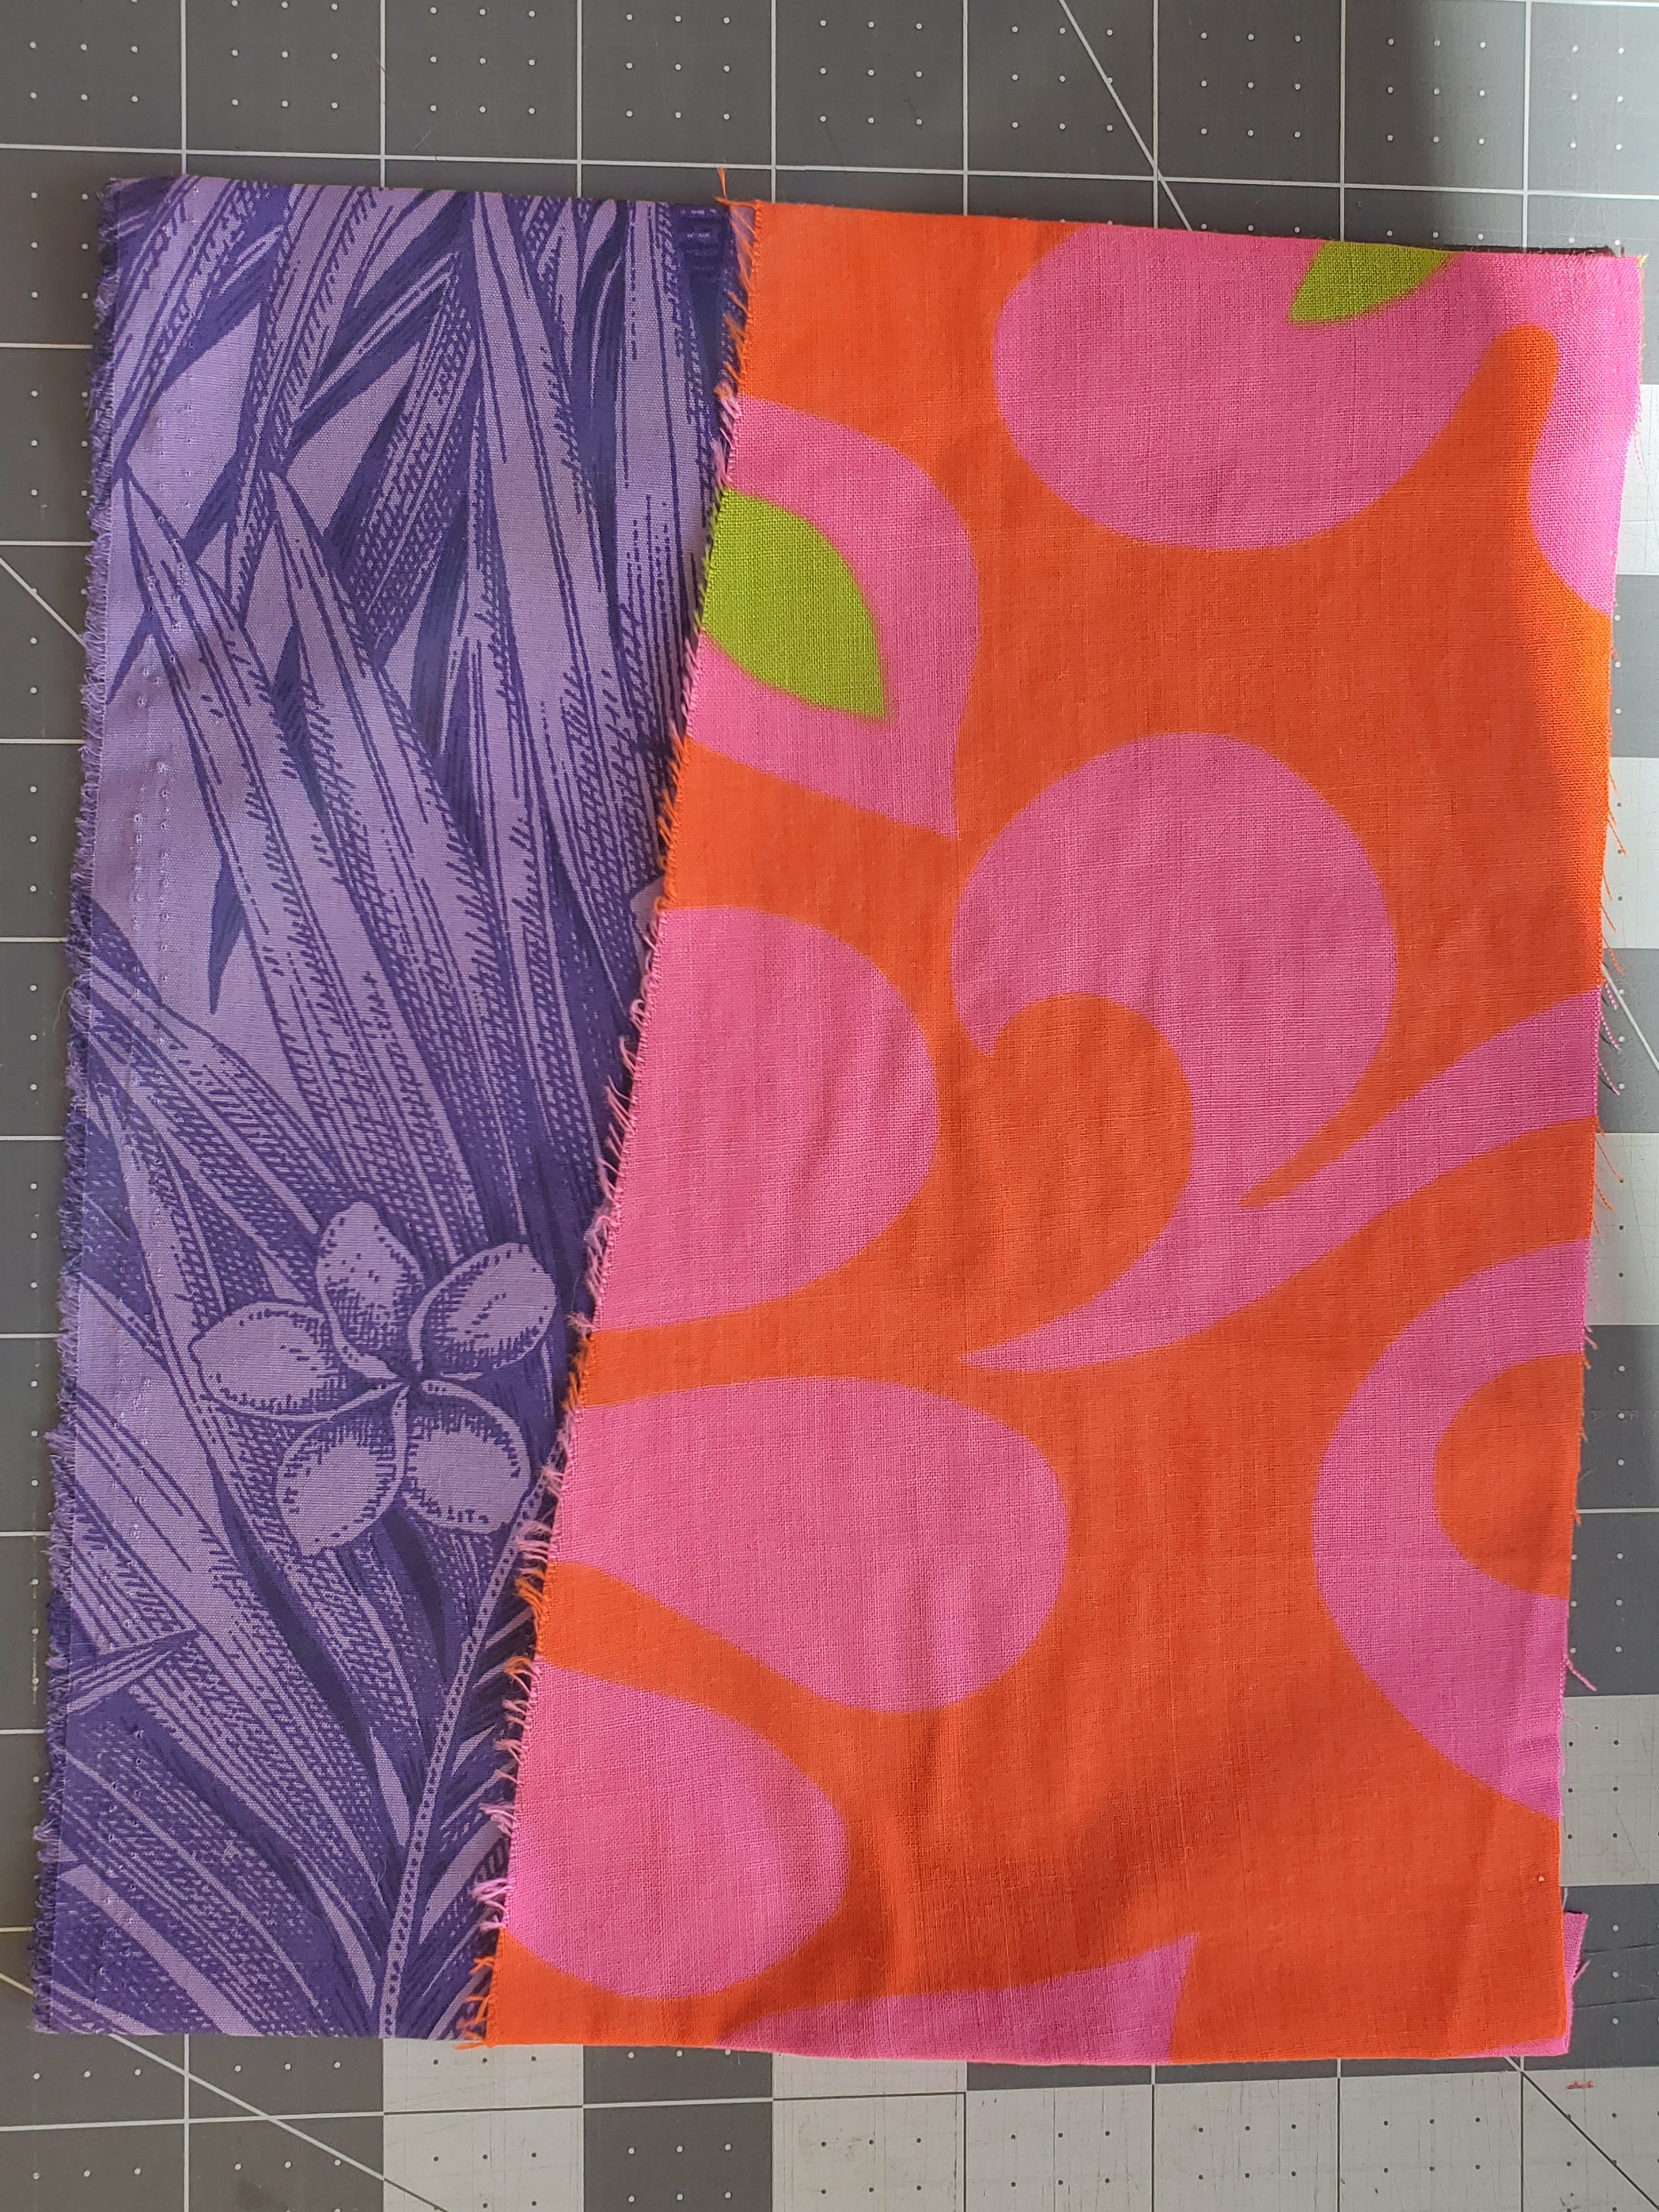
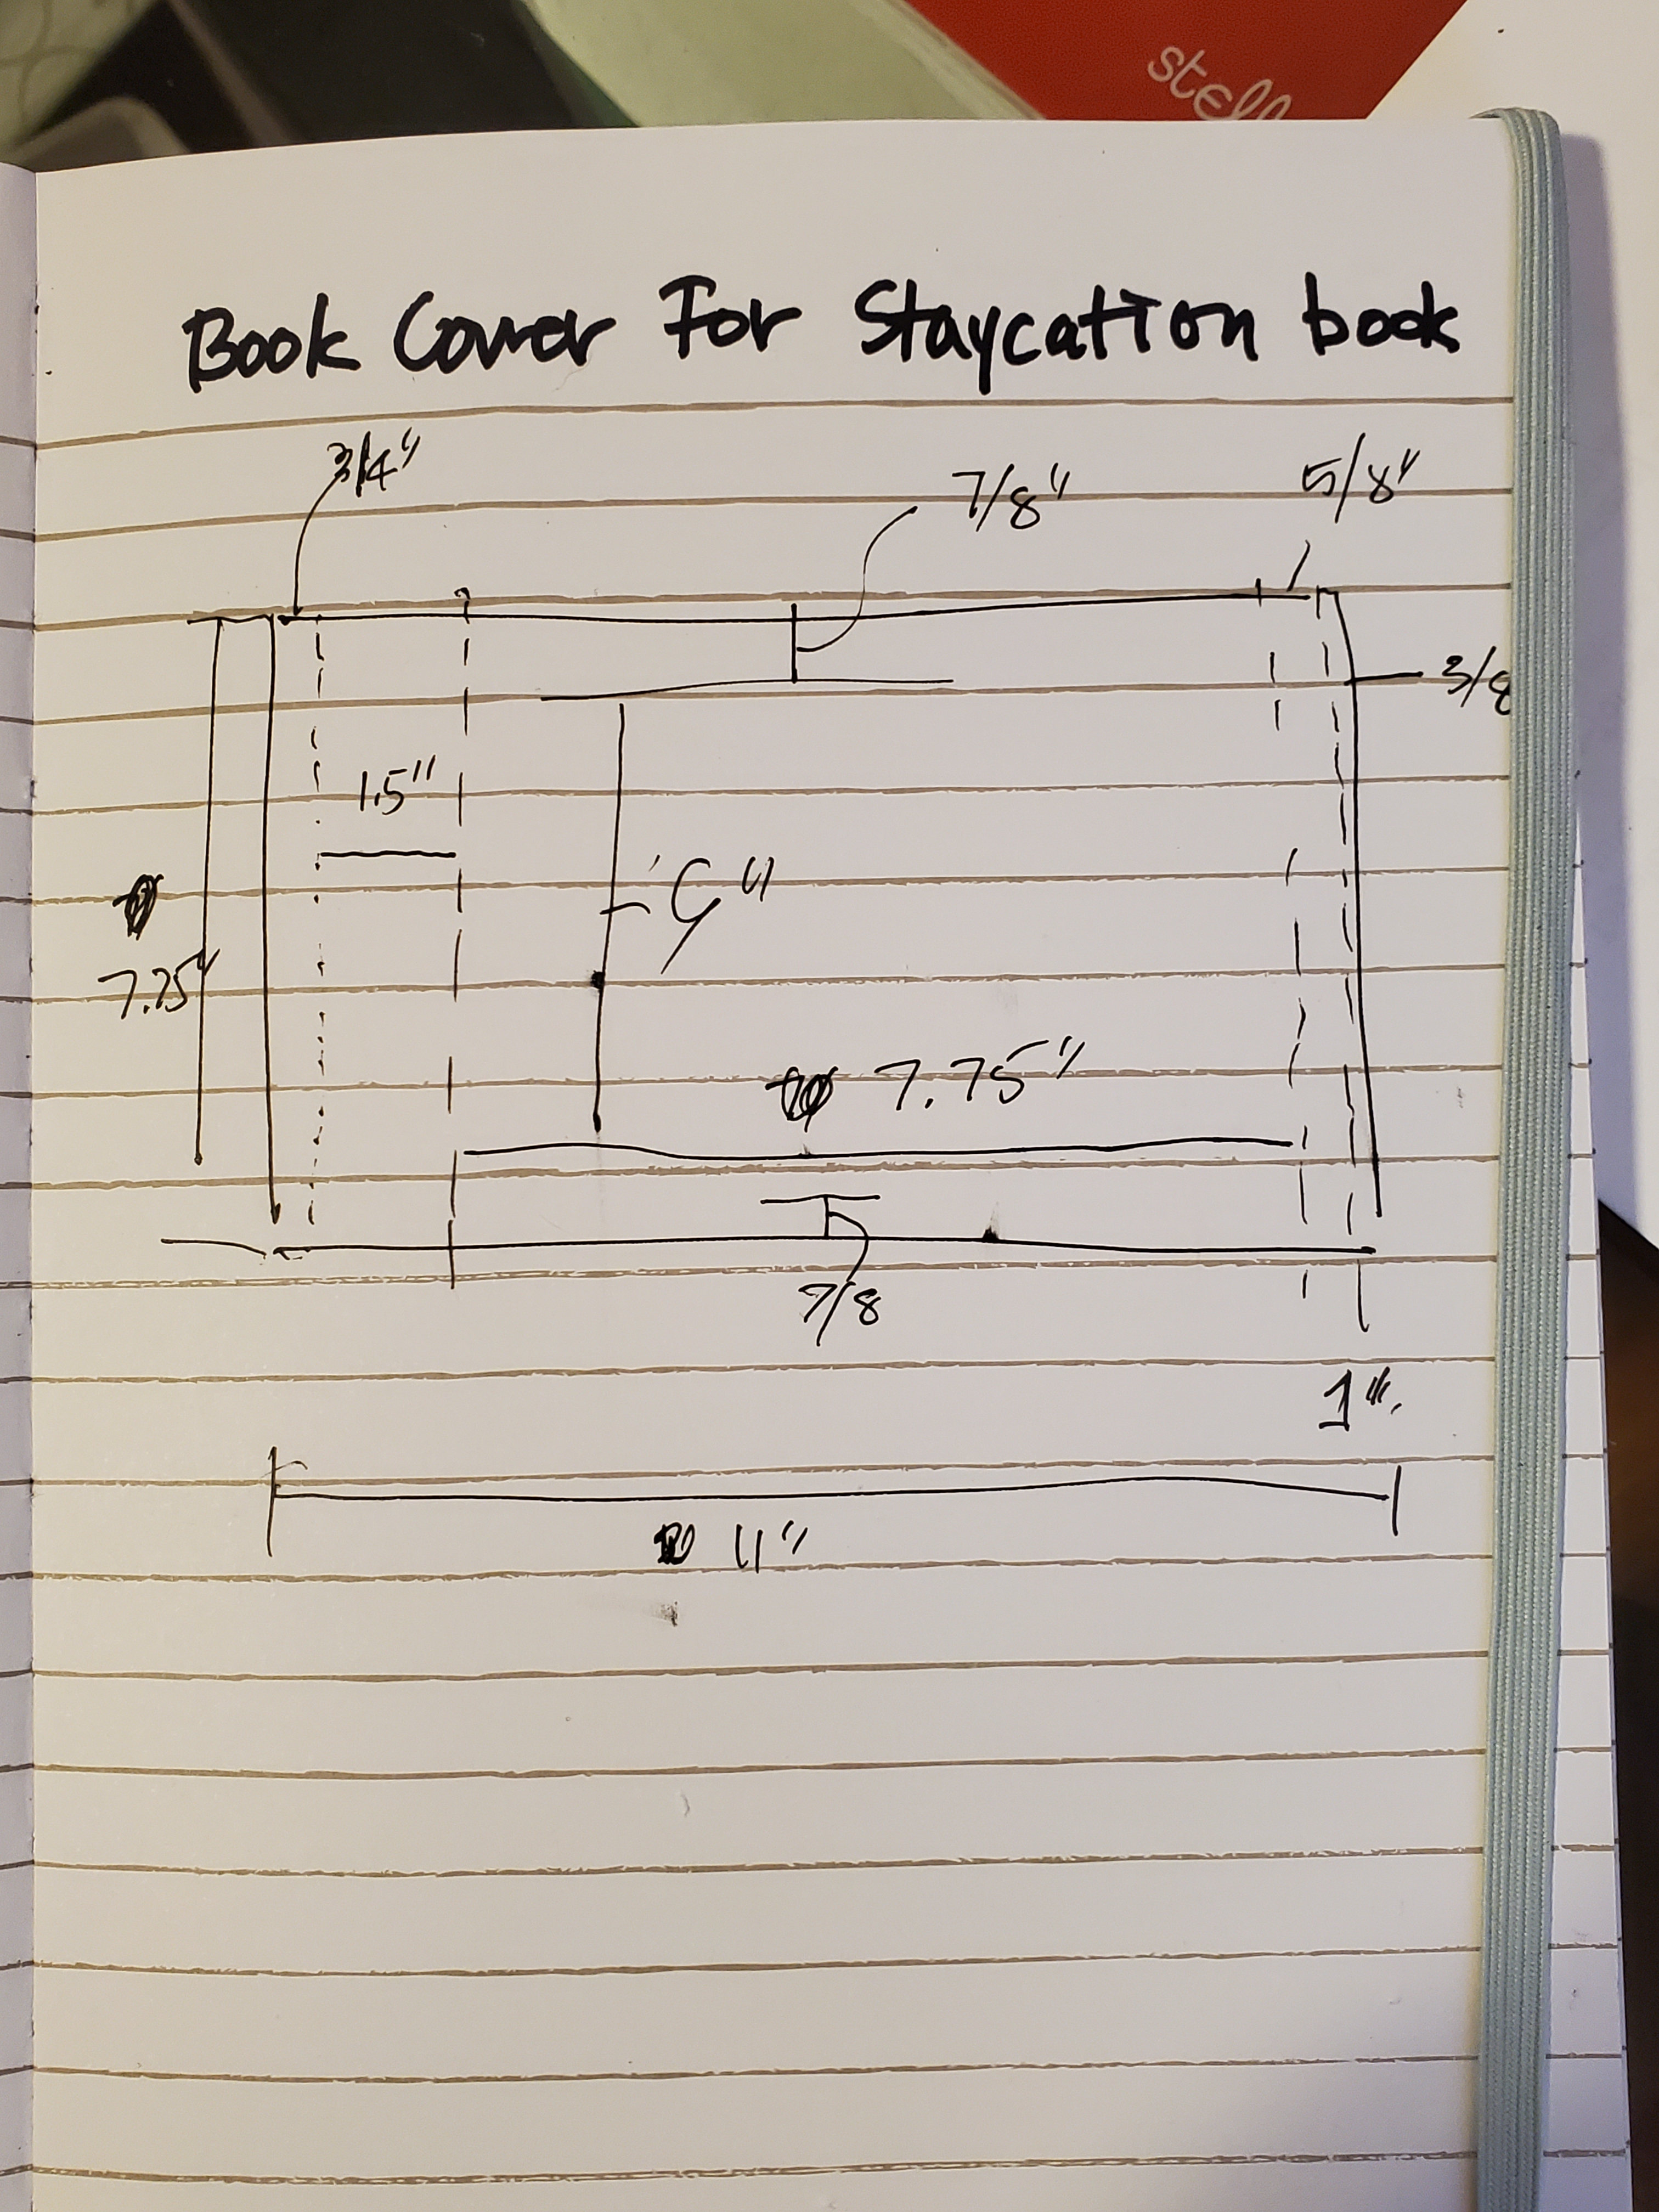
This current wave of hand stitching was brought on by the book covers I stitched in my post; I forgot to add a cover. I started stitching more patches with the same fabric as the book covers and added more stitching. But now I’m stuck about what to do next and what I should become.


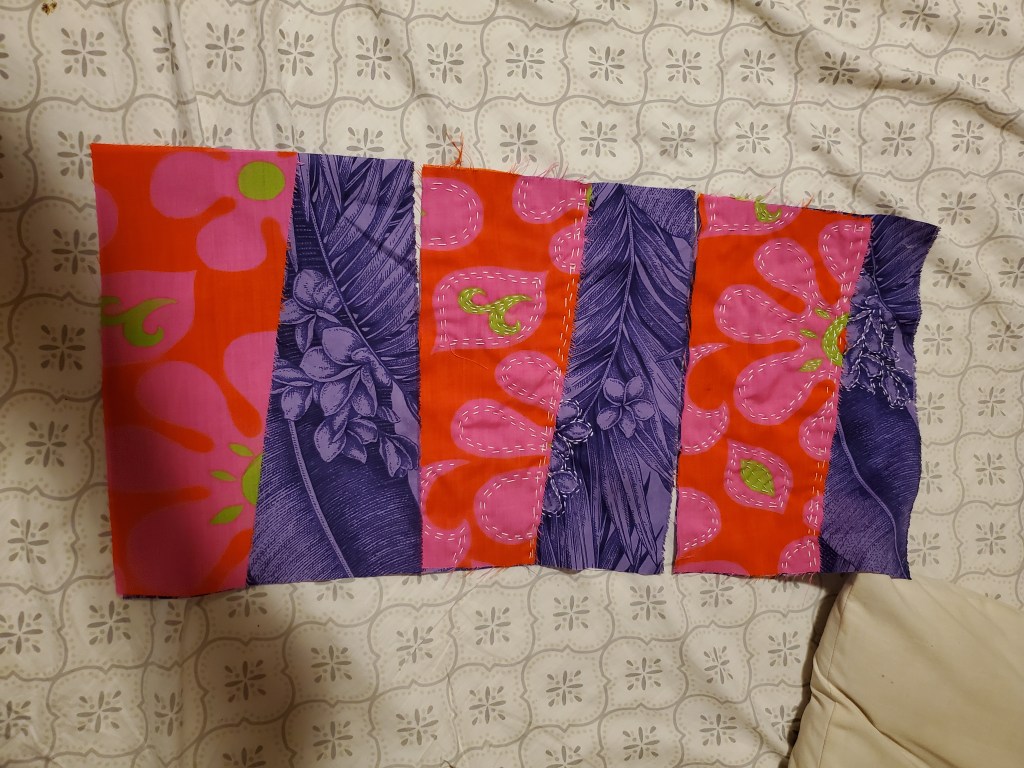
I decided to let the patches sit while I figured out what it needed. I picked up my aloha shirt patchwork quilt. I needed to finish the rest of the interior stitching (diagonal lines) then work on the border. The half triangles are machine stitched with interior quilting and border handstitched.


The quilt looked a bit empty; it needed more than the diagonal lines. I decided to add some stitching around the white flowers on the green triangles. Slightly smaller stitching than the diagonal lines makes it stand out a bit. More in the style of the book covers.

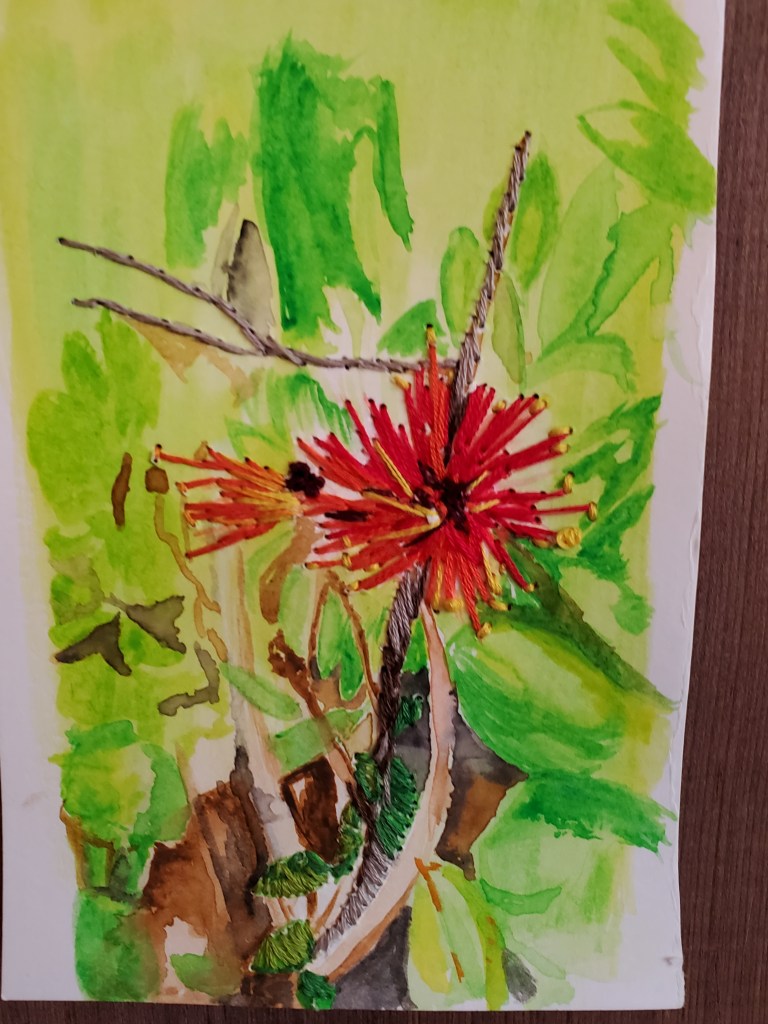
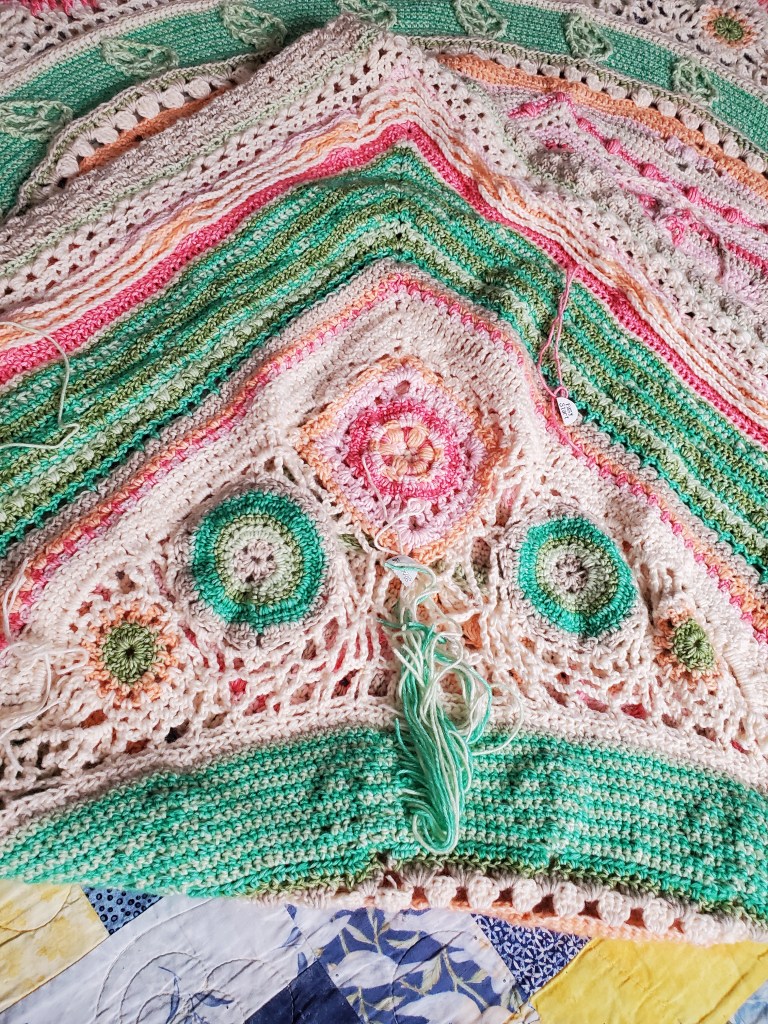
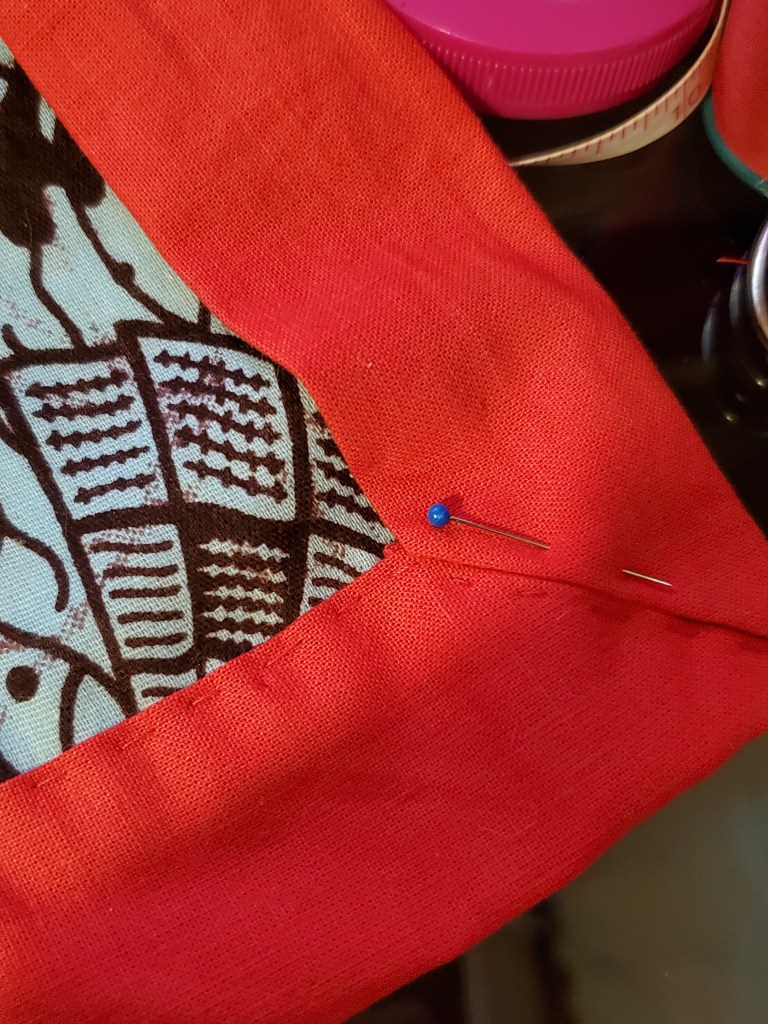
Working in tandem with the patchwork quilt, I picked up an ancient project sitting in my project pile, a Hawaiian quilt kit I started. I don’t even know when or where I got it or created it.

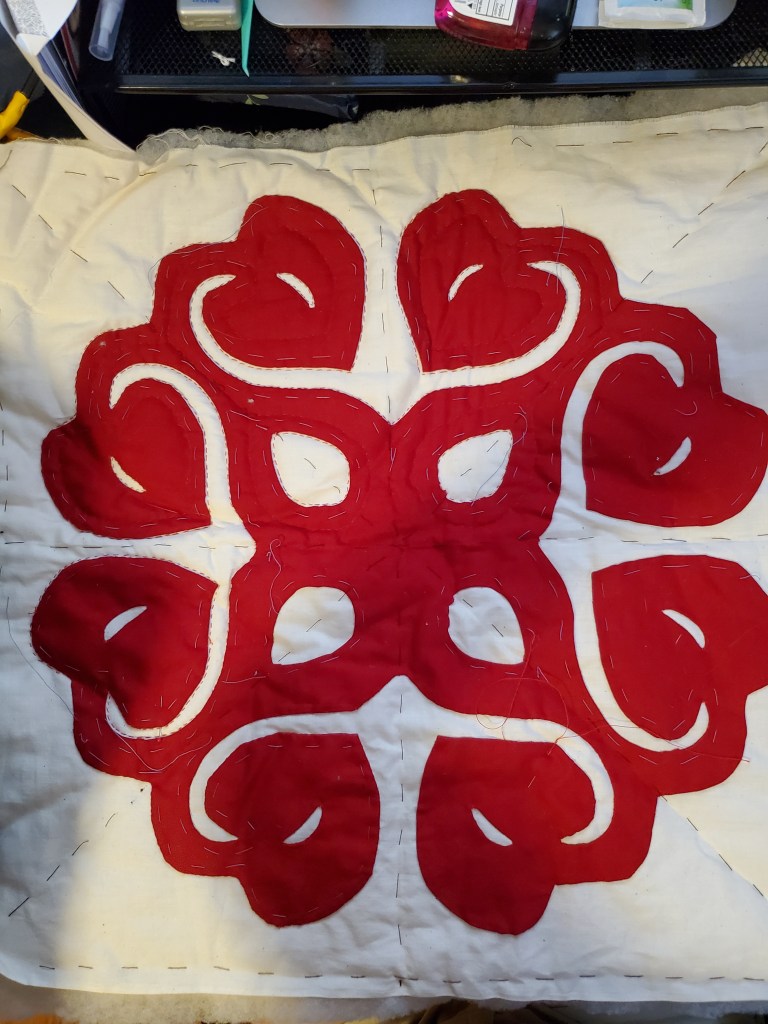
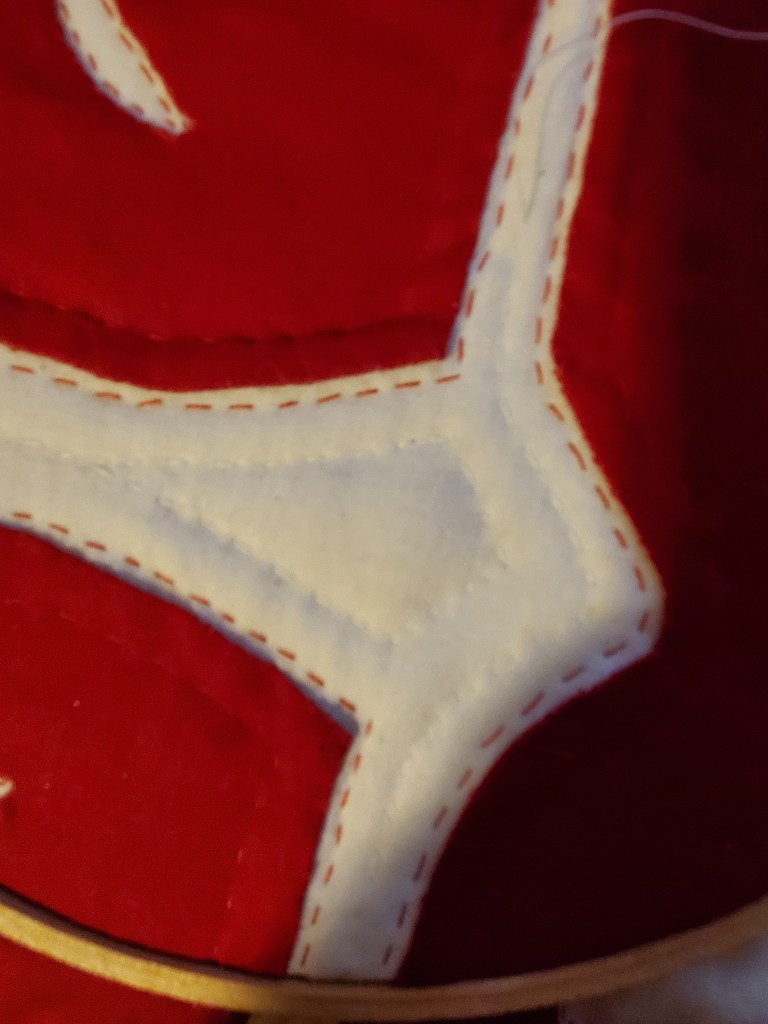
I did a really crap job attaching the applique. My Quilting Yoda would not have been happy. I restitched the applique, adding many more stitches to lay flat. Some of the corners were pretty awful; the turn-over edges were coming apart. The stitching was close enough. Ugh!! But the more I worked on it, I got into a rhythm, and my stitches were more consistent. So satisfying. I like it now.


All the while, as I hand stitch, I’ve been binging Silent Witness on Prime Video. It’s like a CSI, UK version, focusing more on the pathologist up to the season 16 when they combined department with forensic. It has 24 seasons, more than enough to keep me company while I stitched away.

I finished this while I was writing this post. I’m so proud of it.

Oh, by the way, I finished the my Hawaiian Quilt Patch. What began as forgotten project, turned out looking better than I expected. I’ve decided to turn it into a pillow. Now I need to find the perfect backing for it. I’m hoping I have it in my stash.

I forgot to add a cover . . .

Back in August, I posted about my staycation with my girlfriends, and I had everyone send me their photos, and I would put together a book for everyone. I forgot to add a cover in my excitement to submit the book.


I had 11 coverless books and was not sure what to do. Many ideas ran through my head, and none of them sounded like a solution. And I decided to put it away till something came to me. Fast forward four months, and I have an idea. I would make patchwork covers that could be slipped on. I got the idea because I was getting together with the girls the coming Sunday, two days away! Yes, I procrastinated. I feel like I’m still in high school.

The Prototype

I wanted to make the cover colorful and fun, like the interior. I thought a vintage flower print and purple Hawaiian print would make a great combination. The vintage print was large triangular scraps. That drove the layout of the fabric. I needed to make sure I had enough for all the covers, and I was trying to keep them similar to keep the production time done.


Once the covers were cut, I decided to sashiko stitch (Japanese embroidery) to attach the two fabrics only on the pink fabric. I came up with a pattern to do two rows of stitching around the pink shapes. I decided the front cover would slip into the book cover pockets. I made pockets for both spine and the right edge of the cover. I initially wanted to glue the covers to the book, but I didn’t know how the paper would react to the glue, and I had no time to test. I stitched the sides of the pocket with kind of a wrapping stitch (not sure what it is really called) that I’ve seen on Instagram.


Well, I didn’t make my deadline of having it done by our brunch. I had two done for the girls who live in town, and the rest would get it delivered. But we ended up spending the afternoon on my girlfriend’s patio talking, and I was able to make up six more.

The last three are done and out for hand delivery today.

I enjoyed the hand stitching patchwork part of this project and have started another stitching project with leftover scraps. I will post when I’m done with what I made.

Marling?

I saw a post from Modern Daily Knitting about marling; the image intrigued me, and I made a mental note to go back to look at it. Well, several days later I couldn’t find it. So I googled Marling and found a post about marling on Tin Can Knits and a quick and easy hat pattern to try out the technique.

4 strands for my Snap hat

Marling is knitting holding 2 or more different strands of yarn to create a speckled fabric. I tried out his technique with mostly the same weight of yarn I had in my stash. I knew I wanted to do something with an ombre and decided to get the Snap hat pattern to try out this technique. I’ve been looking for a quick pattern during my rest periods between sections from my Shawlography Westknits MKAL 2021. Haha.

Here’s what I got. One of the benefits of this marling project is I got to use yarn from my stash, and it turns sock and lace weight yarn into bulky to make knitting up the hat a quick and very satisfying project.

For my marling project, the colors I started with were navy, teal, pink, and variegated yarn.

Most of the yarn I got from Savers, only the variegated yarn, was from my yarn gift from a friend who was getting rid of most of her stash. My plan was to do an ombre from dark to light. The pattern said to change the one yarn every 4-6 rows to create the ombre.

Switched out the navy with gray

After 6 more rows, I switched out the teal with medium magenta. I continued with this colorway till the decrease section. Then I swapped out the variegated yarn with another strand of pink.


Ta-Dah! My finished Snap hat with a big fluffy pom-pom in all 6 colors. Love the way the ombre turned out. I would love to make a blanket with this technique. I’ll just add it to my to-do project list and look out for a colorful sock or lace yarn sale.

Hello! It’s been a month . . .

I haven’t been feeling up to writing, and I haven’t been taking pictures. Could this be due to the COVID? Hmmm. The numbers have been very high in Hawaii, keeping me close to home for the sake of my parents and myself. The three of us have gotten our vaccinations, but it seems to be better safe than sorry with this new Delta variant.

crochet leaves for Joyful Return—Recover

I wanted to share this little side project I’ve been crocheting. It’s for a HOMA (Honolulu Museum of Art) exhibit, Joyful Return—Recover. They asked for handmade ʻōhiʻa leaves in crochet, knit, or sewn for use in this exhibit.

ʻŌhia Lehua, a beautiful native plant, is suffering the plight of rapid ʻōhiʻa death—killing millions of trees across the island. It is a fungal infection that once the trees are infected, they die, and there is no cure.

ʻōhiʻa from the trail

This plight makes me sad as the mighty ʻōhiʻa is one of the plants we see on the many hiking trails in Hawaii. We find them perched on the sides of the mountains trails, standing firm in the winds.

From wind sweep trail of Palehua

This community-based project creates fiber installations around the museum to bring awareness to the ʻōhiʻa’s plight and its recovery. It uses the handmade leaves from the community and pompom ʻōhiʻa to transform the space into an ʻōhiʻa lehua forest. Here’s the link to the Joyful Return Exhibit at HOMA: https://honolulumuseum.org/current_exhibitions/joyful-return/

I hoped to crochet more than I have. But my giant blanket project got in away. Hope this helps fill out their ʻōhiʻa forest. For more information on the ʻōhiʻa lehua, here’s a link to article: https://www.hawaiimagazine.com/5-things-you-need-to-know-about-the-ohia-lehua-flower/

My watercolor/embroidery of the beautiful ʻōhiʻa

Showing off

Woo hoo! I can’t believe I finished my Scheepjes CAL 2020 d’Historie Naturelle. This pattern was the most complicated piece I have done so far. I learned so many new stitches and new techniques. I’m so thankful I had that moment in my life that I thought I could make this blanket.

All done. 8/23/2021 As wide as queen size bed

Thank you, Christina Hadderingh of A Spoonful of Yarn , for your fantastic design. I don’t know who you came up with this design, but I’m so glad you did.

And oh my goodness, I don’t know what I would have done without Esther Dijkstra of It’s all in a Nutshell blog videos to get me through the entire piece, especially the lacy corner sections. Your voice (extremely calm) and helpful hints as if you knew where I would be struggling.

My blanket is nowhere close to perfect, but I don’t care. I think it looks great. Sometimes you have to say yes to a challenge.