Joanne Chang’s Pastry Love. I’ve seen delicious posts of recipes from the book, and I caved in during Prime day.
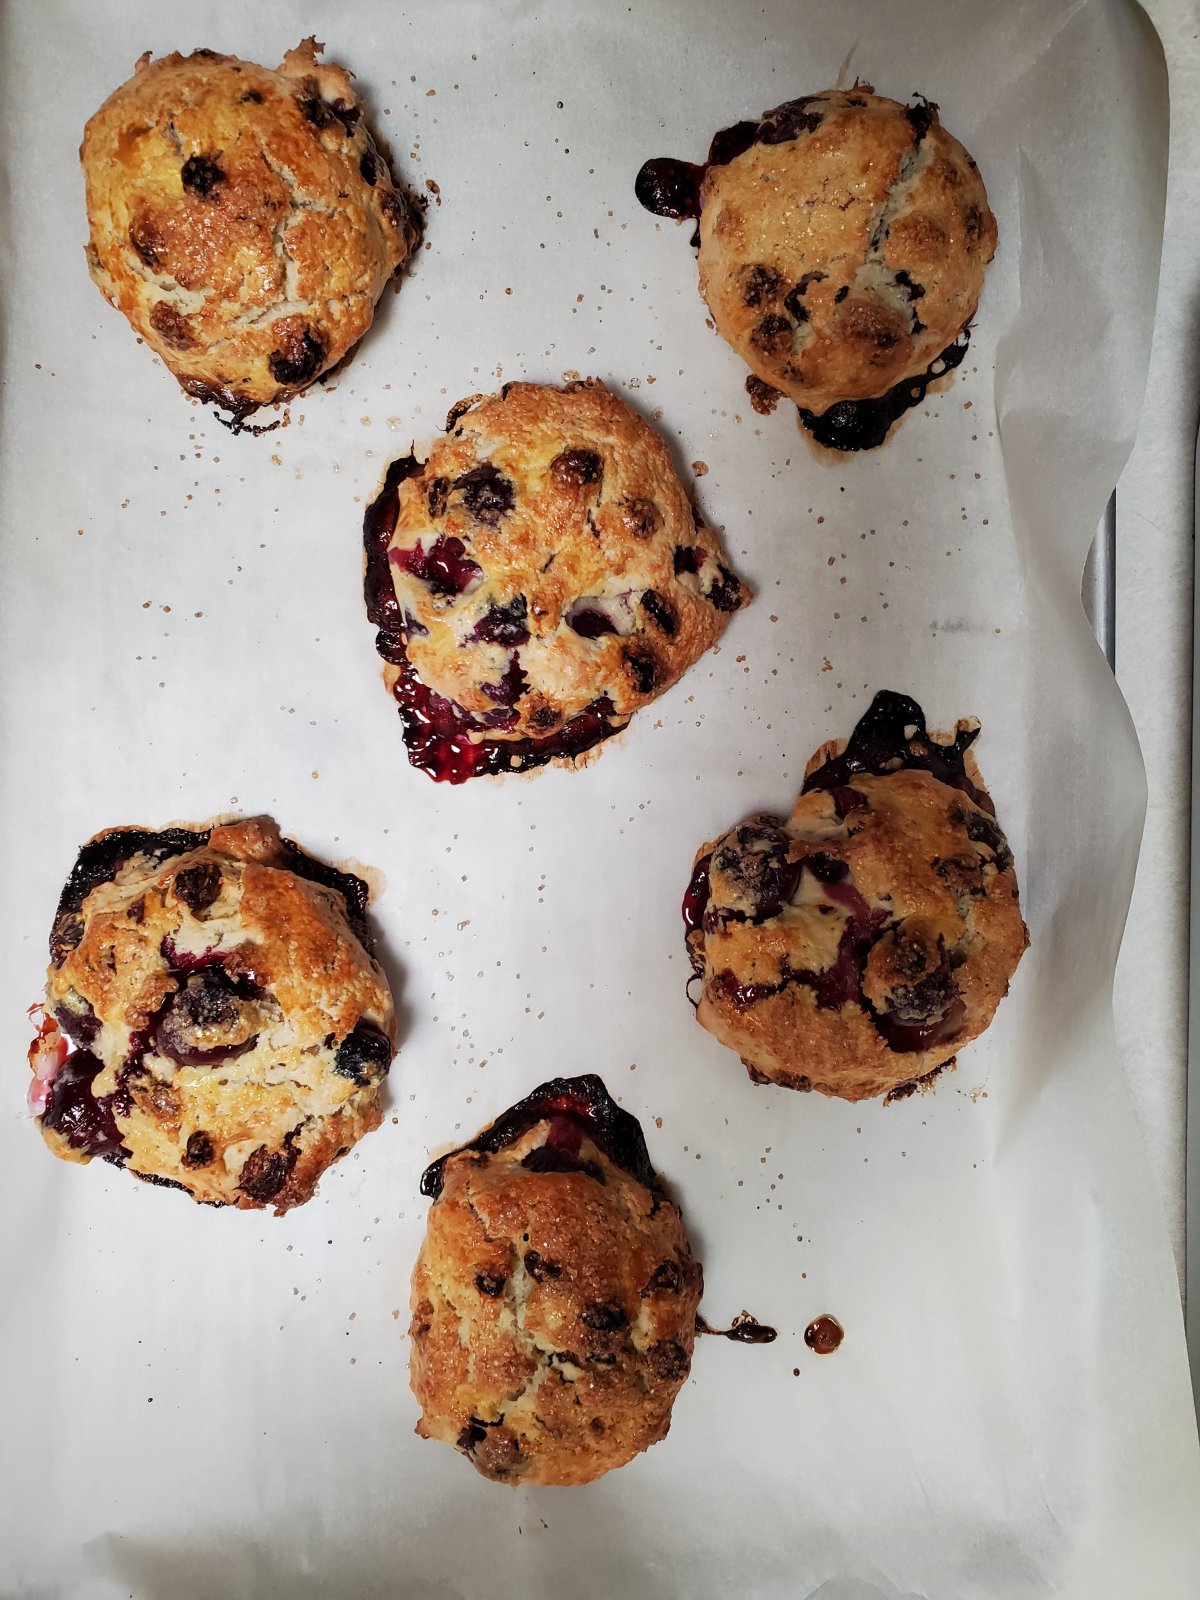
But what should be my first bake from this book? I was inspired by what was in the refrigerator, cherries, and ricotta I’ve was saving for cannoli pound cake from Smitten Kitchen (one of my favorite pound cake recipe). It would be Ricotta Cherry Scones.
The only problem I was missing a few ingredients: superfine sugar, creme fraiche, and dried cherries. Once again, I’m winging it because I’m just too lazy to run out to the market. I decided to use regular sugar (I’m sure it would come out better with superfine, but with the limited space in the kitchen, regular sugar would work out fine). I happen to have sour cream, and that would be my replacement for creme fraiche. And I had a small amount of dried cherries but not enough. So I made up the rest with blueberries and golden raisins.
One great takeaway from this bake is pitting cherries with a stainless steel straw was quick and easy. Don’t spend your money on pitter. The straw worked out great.
weighing out the ingredients
mixing in the butter
whipping up the wet
As you can see how this is going, it would turn out to be quite the improvised bake.
As I measured out the wet ingredients, I had just a little bit left of ricotta and sour cream. I just dumped it in. I can’t stand waste or leaving just a little bit to go bad in the refrigerator. Well, I will end up adjusting the flour at the end to thicken up the batter.
Oh, I forgot. My mom told me to use the blueberries that we had hanging around.
right in the overn
right out of the oven
With all this improvisation, I got a baker’s dozen instead of six. Haha. I was a little worried this would be a total fail because I went off so much. But in the end, these turn out delicious and light. I would add more zest next time. I think it would make it even better. I can see how an all cherry version would be so delicious. I used Joanne’s suggestions and froze half the recipes for another time. Definitely a make.
I got a new idea for a new feature while cleaning out my photo collections. I haven’t looked back at them for a while, and there were so many that I loved. So I decided to share these favorites as a weekly feature. I would love to have it short and sweet, but I want to add a recipe in the first photo I picked. Haha.
FAV PICS:I took this picture to promote one of our favorite desserts at the restaurant, Caramelized Apple Bread Pudding. I forgot about this pic and how good it looks. Wasn’t easy to get a good picture from the restaurant. Always on the run.
I thought I’d share this recipe. I was making bread pudding for the restaurant with all the extra bread we had. My customers keep coming back for it and always getting it to-go when they are too stuffed from dinner.
Caramelized Apple Bread Pudding
Serves eight large pieces or twelve regular size pieces
1-gallon zip lock bag of stale bread, cubed**
1/2 c raisins
Custard
3 c whole milk
1 c heavy cream
1/2 c brown sugar
2 t vanilla
2 t cinnamon
1 t salt
2 T butter plus extra 1-2 T butter for pan
Caramelized Apples
3 medium apples, peeled and sliced 1/8″ thick*
1/2 stick butter
1/2 c sugar
4 eggs, beaten
Vanilla Sauce
1 can condensed milk
2 t vanilla
1/4 c powdered sugar–you can add more or less to taste
Grease the baking dish with 1–2 T of melted butter. Note about the pan: My pan ceramic is 8 x 11″ and 3″ deep. Use a 9 x13 pan if you don’t have this size pan.
In a large bowl, add bread and raisins and set them aside.
Making the custard
Add custard ingredients to a pot, heat over medium heat until you see tiny bubbles forming on the edges, stirring occasionally. Don’t boil. The milk should be steaming. Pour milk mixture over the bread and the raisin and mix until the milk has soaked all the bread. Don’t over mix; the bread cubes should keep their shape somewhat. Set aside.
Caramelizing the apples
Melt 1/2 stick of butter in a frying/saute pan on medium heat. Add sugar to the melted butter, slightly stir it to help it melt evenly. It should start turning brown at the edges. Stirring occasionally, all of the sugar should turn evenly brown.
It should be light brown all over. It’s probably better to lighter than darker brown because the darker it gets, the more bitter it will taste.
Add the sliced apples and stir into the caramelized sugar.
This moment is when you will probably freak out because you think you ruin your beautifully caramelized sugar. Nope, you didn’t. The sugar will seize (becomes hard clumps) because of the juice from the apples, but keep stirring the sugar and apples together. The apples will start producing a lot of fluid, and the clumps of sugar will melt into the liquid.
Reduce the apple juice/sugar mixture to half, and the apples should tender by then.
Pour the apple/sugar mixture into the bread custard mix. Mix the apple and bread well, so everything is evenly distributed.
Now turn on your oven to 350º. Once my oven is ready, the mixture is cool enough to add the eggs to the bread custard mix. Mix well, trying not to break up the cubes. Pour mixture into butter dish/pan. Bake for 50-60 minutes. The top should be golden brown and puffed up a bit. You can you a cake tester to see if it comes out clean or press down on the top with your finger, and if it springs back, it’s ready.
Vanilla Sauce
Mix all the ingredients well.
Serve it warm with a drizzle of vanilla sauce.
This recipe keeps well in the freezer. I slice it up into the serving size, double wrap in plastic wrap, then in foil. Should keep for a month. Take out and defrost in the refrigerator. Heat the slice for a minute in the microwave or toaster to get the texture of the bread soft.
NOTES
*I use fuji because it holds up to the caramelization but uses whatever apples you like.
** I get my bread from the restaurant, usually hard rolls. I cube the bread, put it in the gallon-sized zip-lock bags, and throw them in the freezer. So I have the bread ready to make when I need it. It’s usually 5-6 hard rolls to fill a gallon freezer bag. Stale bread works the best for this recipe. If the bread is too fresh, it becomes mushy when you add the wet ingredients. Still useable/eatable but doesn’t look as good. I have added some slices of whole wheat bread to the mixture; it adds a nice sweetness.
Who is my perfect reader? Hmm, I’ve been struggling with that question for a few days since I saw it in my lesson. As I mentioned in my Hello post, I originally started to write for my family and friends to show them what was going in my world. Now that I want to bring in more people, this is an important question to figure out.
My perfect reader would be someone who enjoys the things I like to share. Probably a maker or someone who fancies things handmade. Or someone who likes my many views of the trail. A gardener would appreciate my Cora’s Garden feature for the blooms and fruits of her garden. Maybe a cook/baker who would like to read about my recipe testing for my family and friends. Oh! And there are my random postings of caregiving for my parents.
From the trail: when we were foraging for bamboo shoots.
It would probably serve me better if I focused my attention on one or two subject matters, but I’m a bit unfocused in my life at the moment. I feel my blog reflects myself, and narrowing it down to one or two areas just would be me. But goals will help the focus and hopefully the consistency
How?
Goal 1: Launch my Etsy shop and use my blog to help promote my shop.
When
before the end of 2021
How
Preview few pieces that are ready every two weeks to generate interest before the launch
Preview: Little box pouches made of upcycled jeans and pillow case, and leftover sumo fabric. Added stitching detail bottom of pouch.
Goal 2: I would like to increase my daily average by 30%
When
By the end of 2021
How
Use the scheduling feature to write posts ahead of time
Try writing some shorter post
Goal 3: Add a weekly feature.
When
By the end of July 2021
What
A showcase of my favorite photos as I clean my collections up.
How
As I clean up my collections, create a folder of my favorite images