It’s been a while

The bougainvillea are blooming in Cora’s garden. I thought I’d share some color with you.

Since Mom passed, life has been more challenging than I thought it would be. The quietness of the house is the hardest thing to deal with. I didn’t realize how much energy Mom brought to the house. I know Dad feels it, too.

Dad and I are trying our best to deal with it in our own way. Dad keeps at his word-find puzzles and exercises with his caregivers. Let’s see if he will be up to doing some holiday drawings.

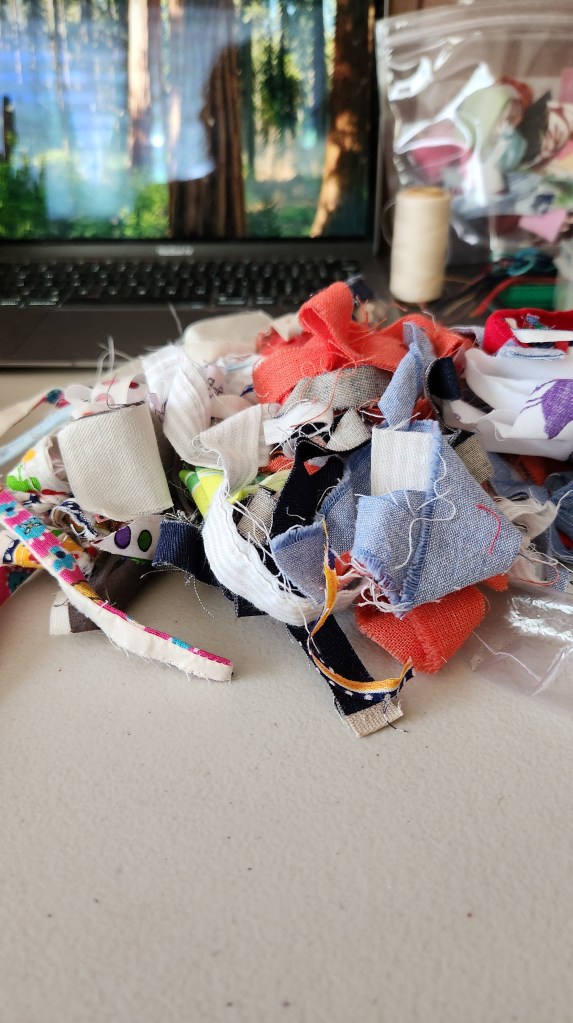
I’ve been busy trying to finish off half-finished projects and work through my fabric and yarn stash (I have more than I can ever use in my lifetime).

Odd-shaped scrap potholders

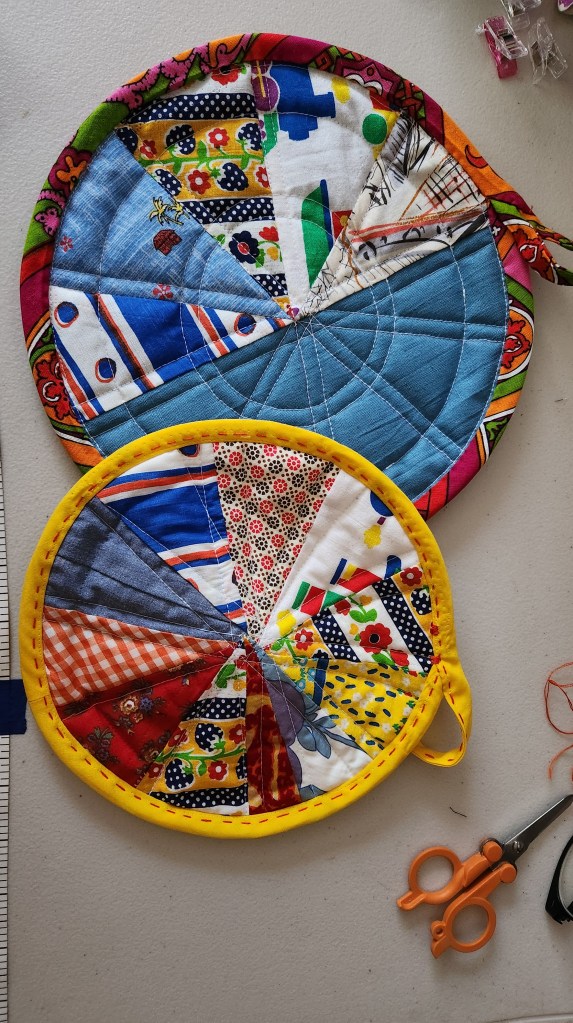
These are scraps from a donated quilt I made. I use as many scraps as possible to reduce, reuse, and recycle.

Charity Knit Hats

It is one of four charity hats I’m making using the marling technique to use up my yarn stash. The pattern is It’s a Snap from Tin Can Knits.

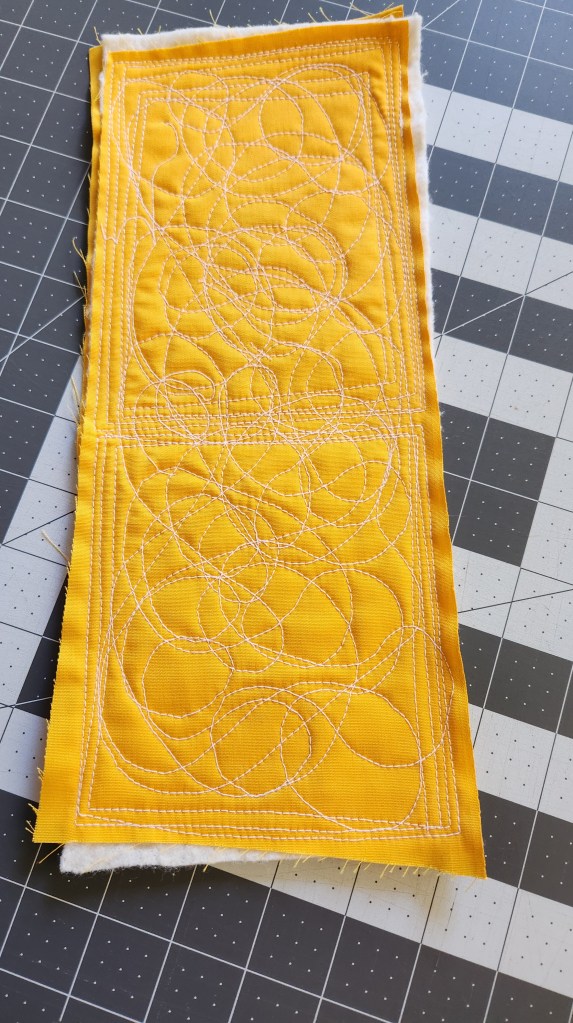
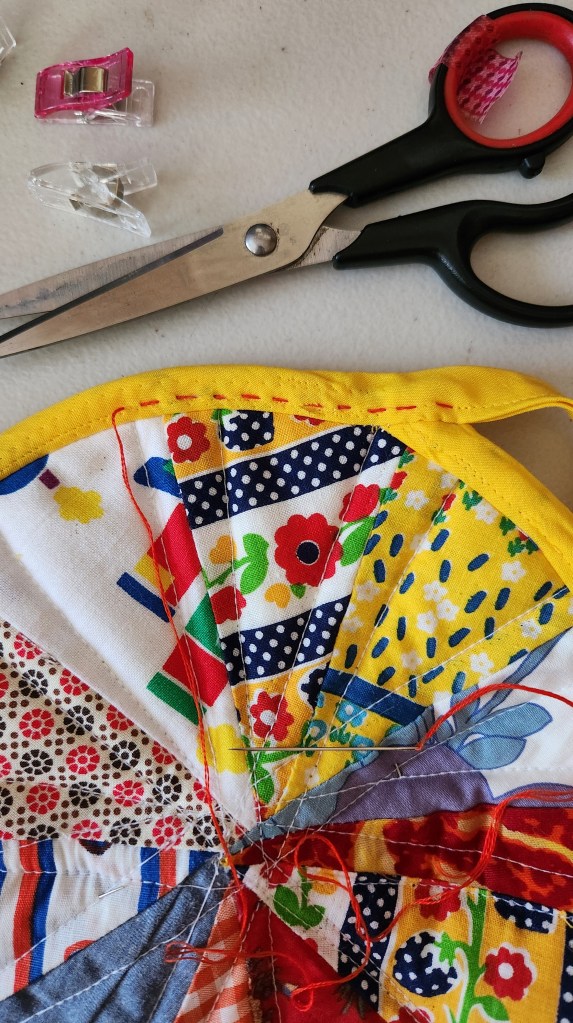
Scrappy strips basket

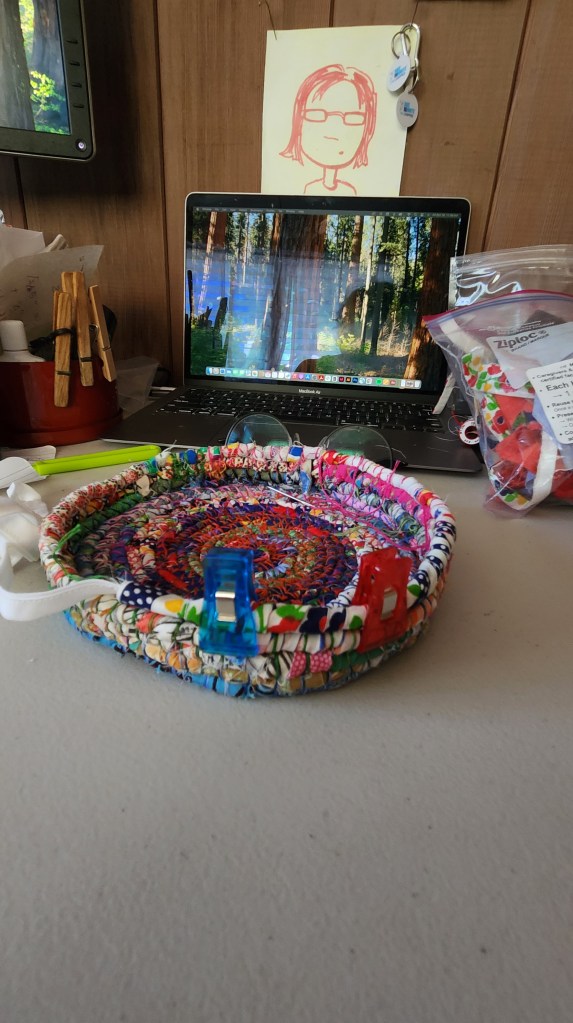
I’m using skinny strips, white binding (from the donated quilt project), and embroidery thread on this scrappy project.

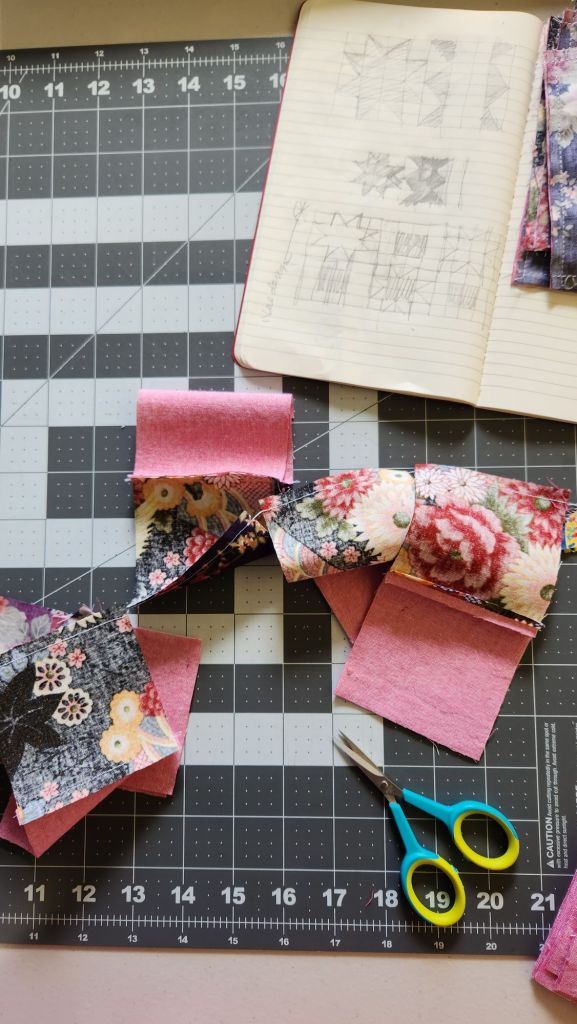
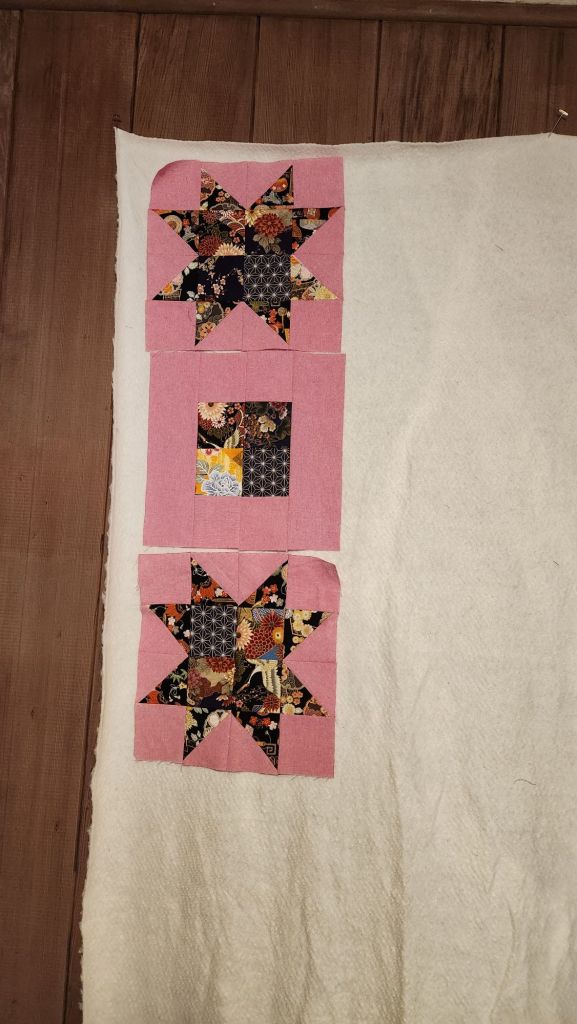
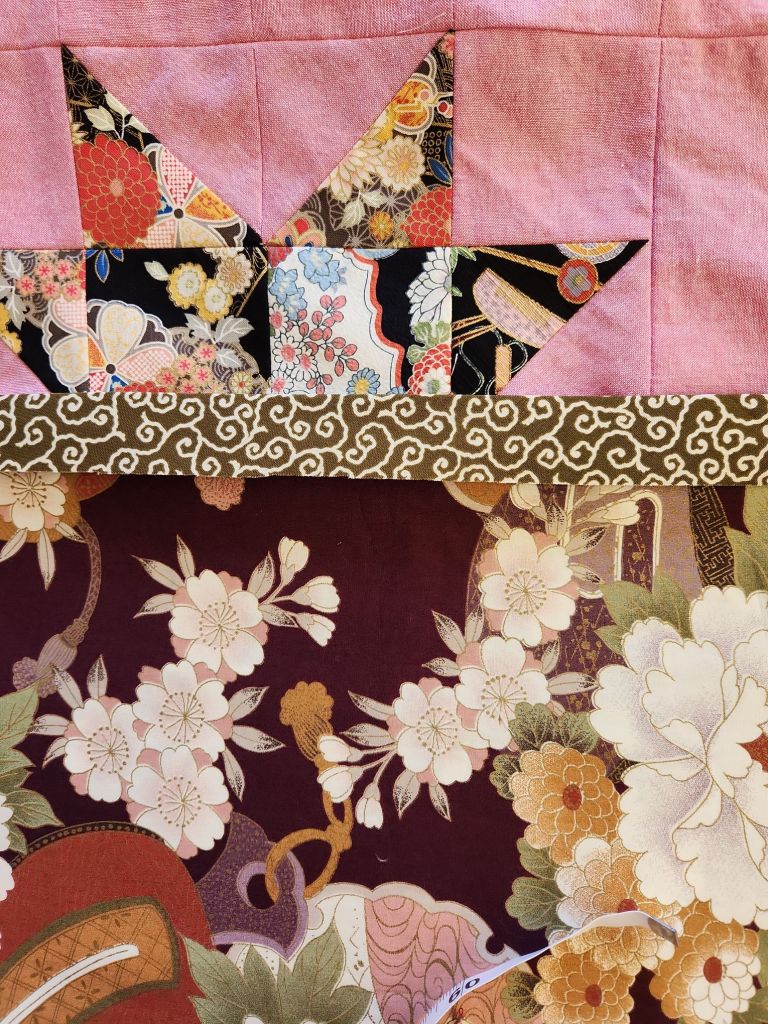
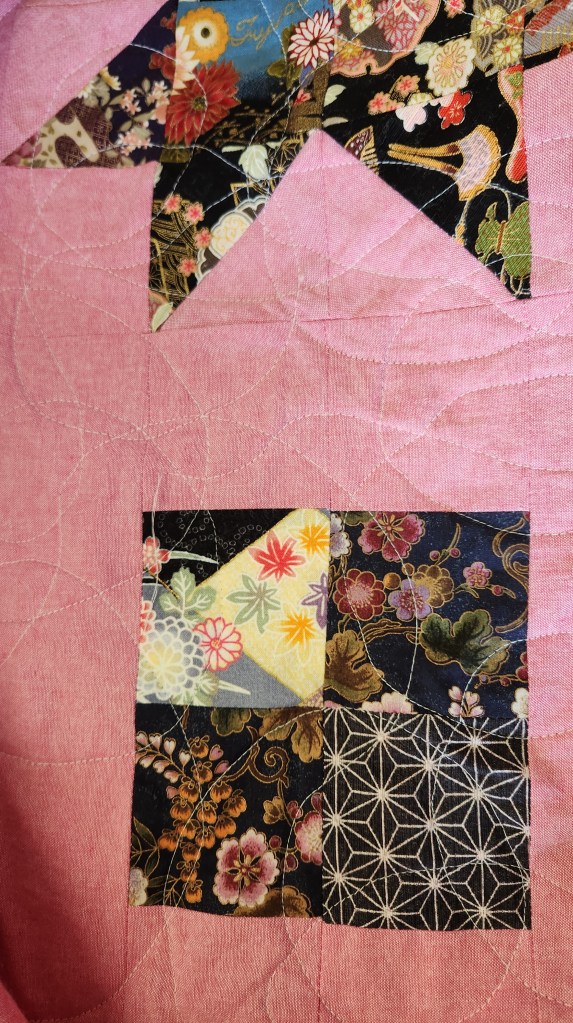
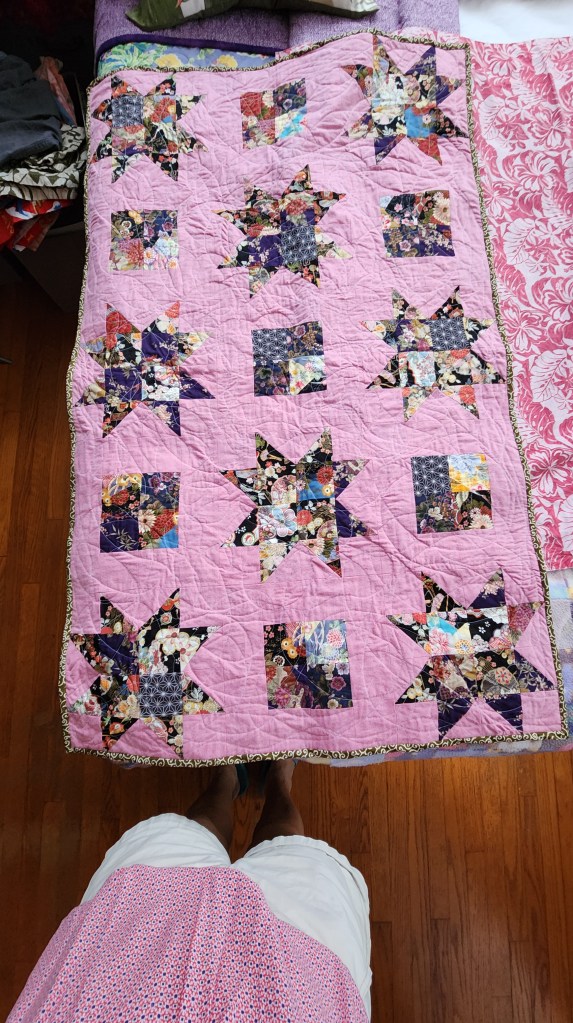
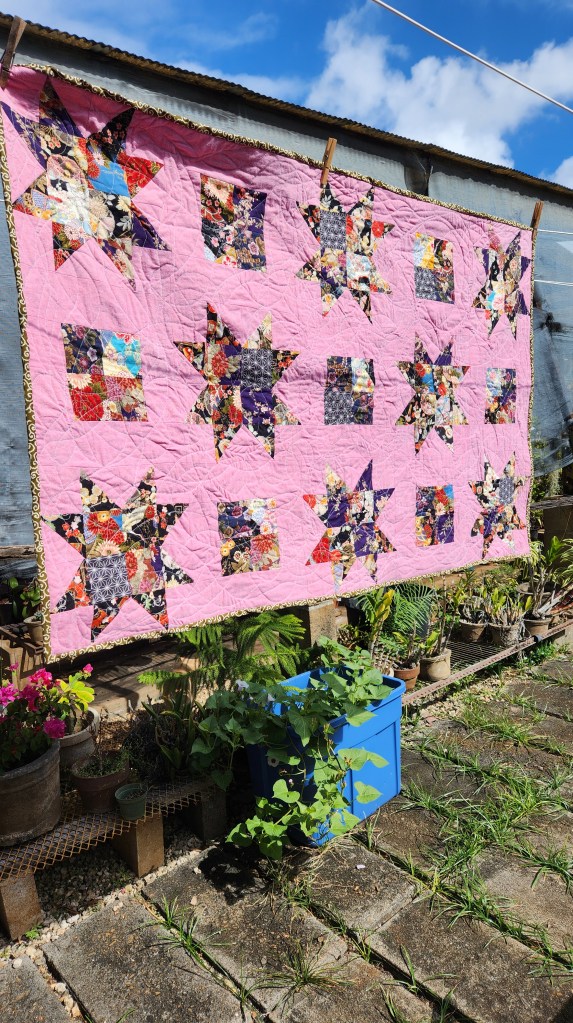
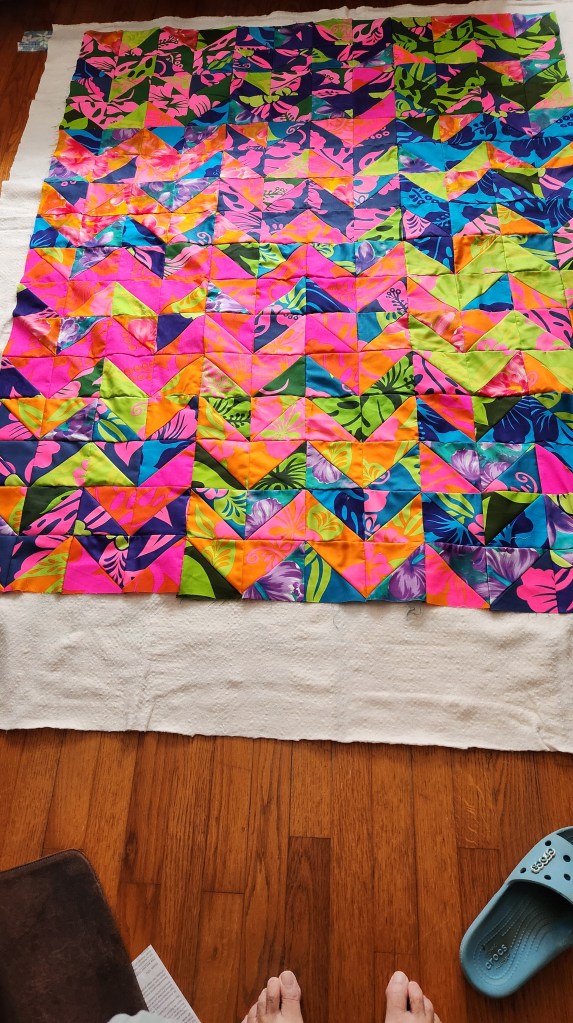
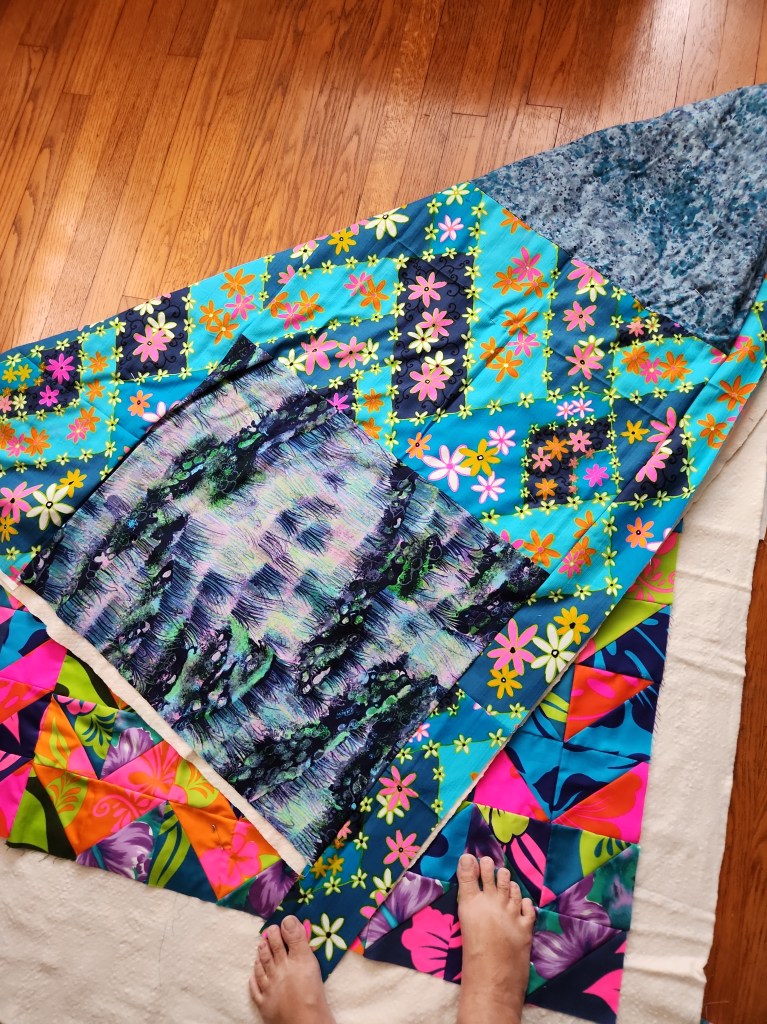
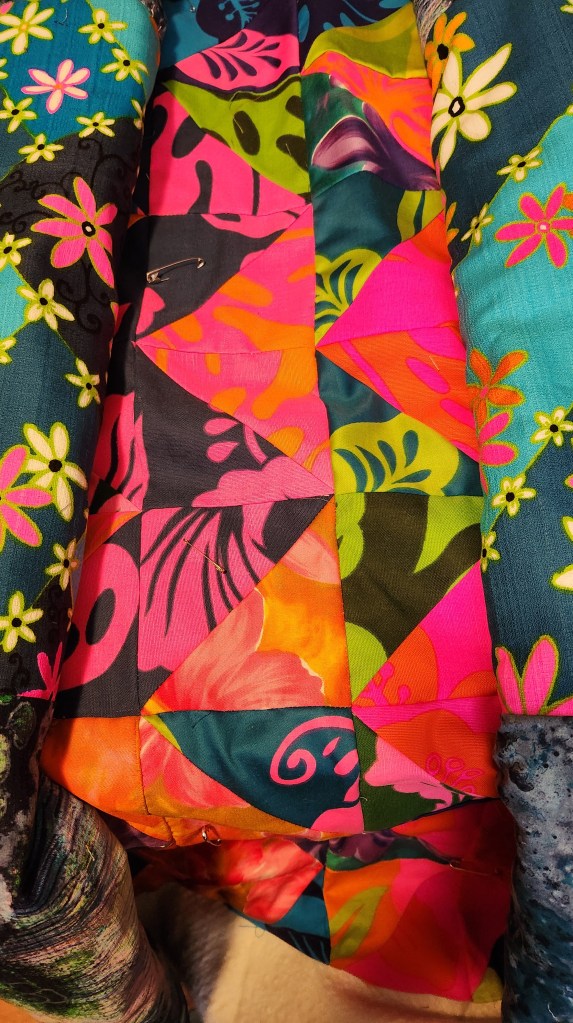
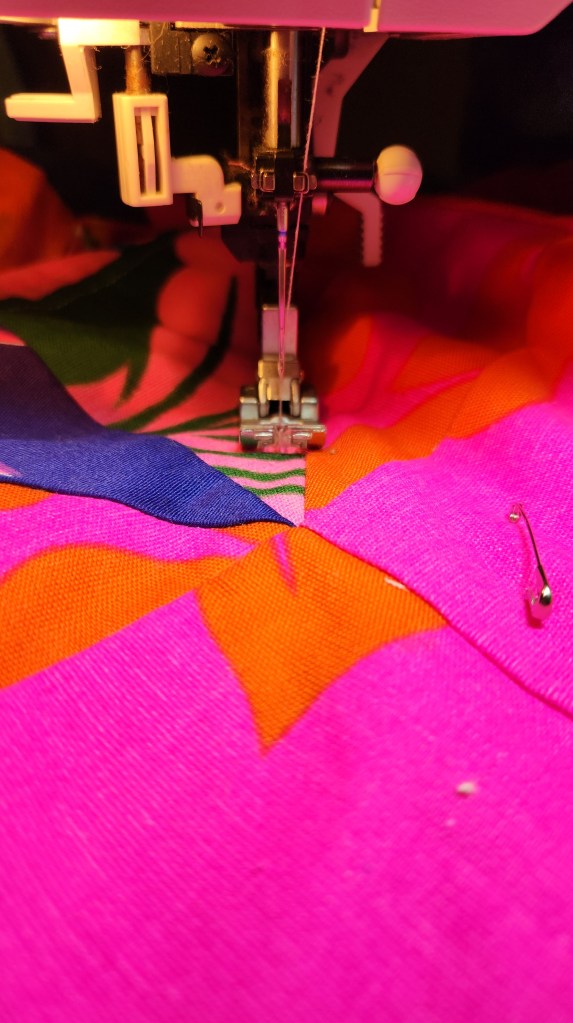
I’m also working on quilt #8. It is for a friend’s friend, who gave me scrap fabric from her mom’s stash and asked if I could make her a quilt. I’m shooting for the end of November to finish the quilt so I can hand it off when I see my friend.

#8

That’s all for now. My sewing machine will be going out for service, so I will have more time for knitting and crocheting projects.

No. 7

Note: I was trying to get this post done for a while, but life throws curve balls, and things are just a little delayed.

No. 7 started with wanting to make a quilt with a star pattern. I looked through my stash and found what I thought would be enough scraps for a throw. The scraps also gave me an idea of who the quilt was for.

Test star pattern on my tiny design board

Once I tested the star pattern, I realized I may not have enough print scraps for a star-only quilt. I worked up a few sketches and chose the simplest solution.


I decided on a square of four prints surrounded by pink. I had the pieces mostly cut, and sewing up the blocks was fast. The layout was easy, as I laid it out in my sketch.

On my temporary design wall

After a few mistakes, the blocks are done. One last check to see if I’m good with the placement. I did wonder if it needed a border.


I decided against the border because it didn’t go well with the backing and binding I planned to use. I found a perfect piece for the backing in my stash. It was large enough that I didn’t need to be stitched together. The backing print had a reddish-purple background that went well with the quilt top. Then, I found an olive green swirl print that worked well with the backing print. Both prints had similar greens that worked well with the quilt top.

Quilt, binding, and backing

My Quilting Pattern, or as I call it, “because I can’t sew that straight.”

I didn’t know what I would do for the quilting. I hate seeing my wobbly stitch lines that should be straight on the quilt. And when I was testing out free motion quilting (which I didn’t do), I did some test quilting with random intersecting circles that I enjoyed. That was my plan.

We all should remember (well, I should say “I”) that my test quilting was done on small pieces of scrap versus a quilt the size of a throw. Thank goodness it wasn’t a bigger blanket.


Tah Dah! Here it is. I thought I would have more control of the swirls, but the quilt’s size made a big difference from the test I did. A bit of ripping out and starting over again was involved. It’s been done for a while and has been with its new owner. I hope she likes it or finds someone who does.


I need to work on my quilting skills, which means more quilting. Next in my queue is a throw for a friend of a friend who gave me some 70s prints from her mom. I just have to get my sewing room back up to working order. I moved my machines inside, but I still need to set them up to make my quilting more efficient.