Joanne Chang’s Pastry Love. I’ve seen delicious posts of recipes from the book, and I caved in during Prime day.
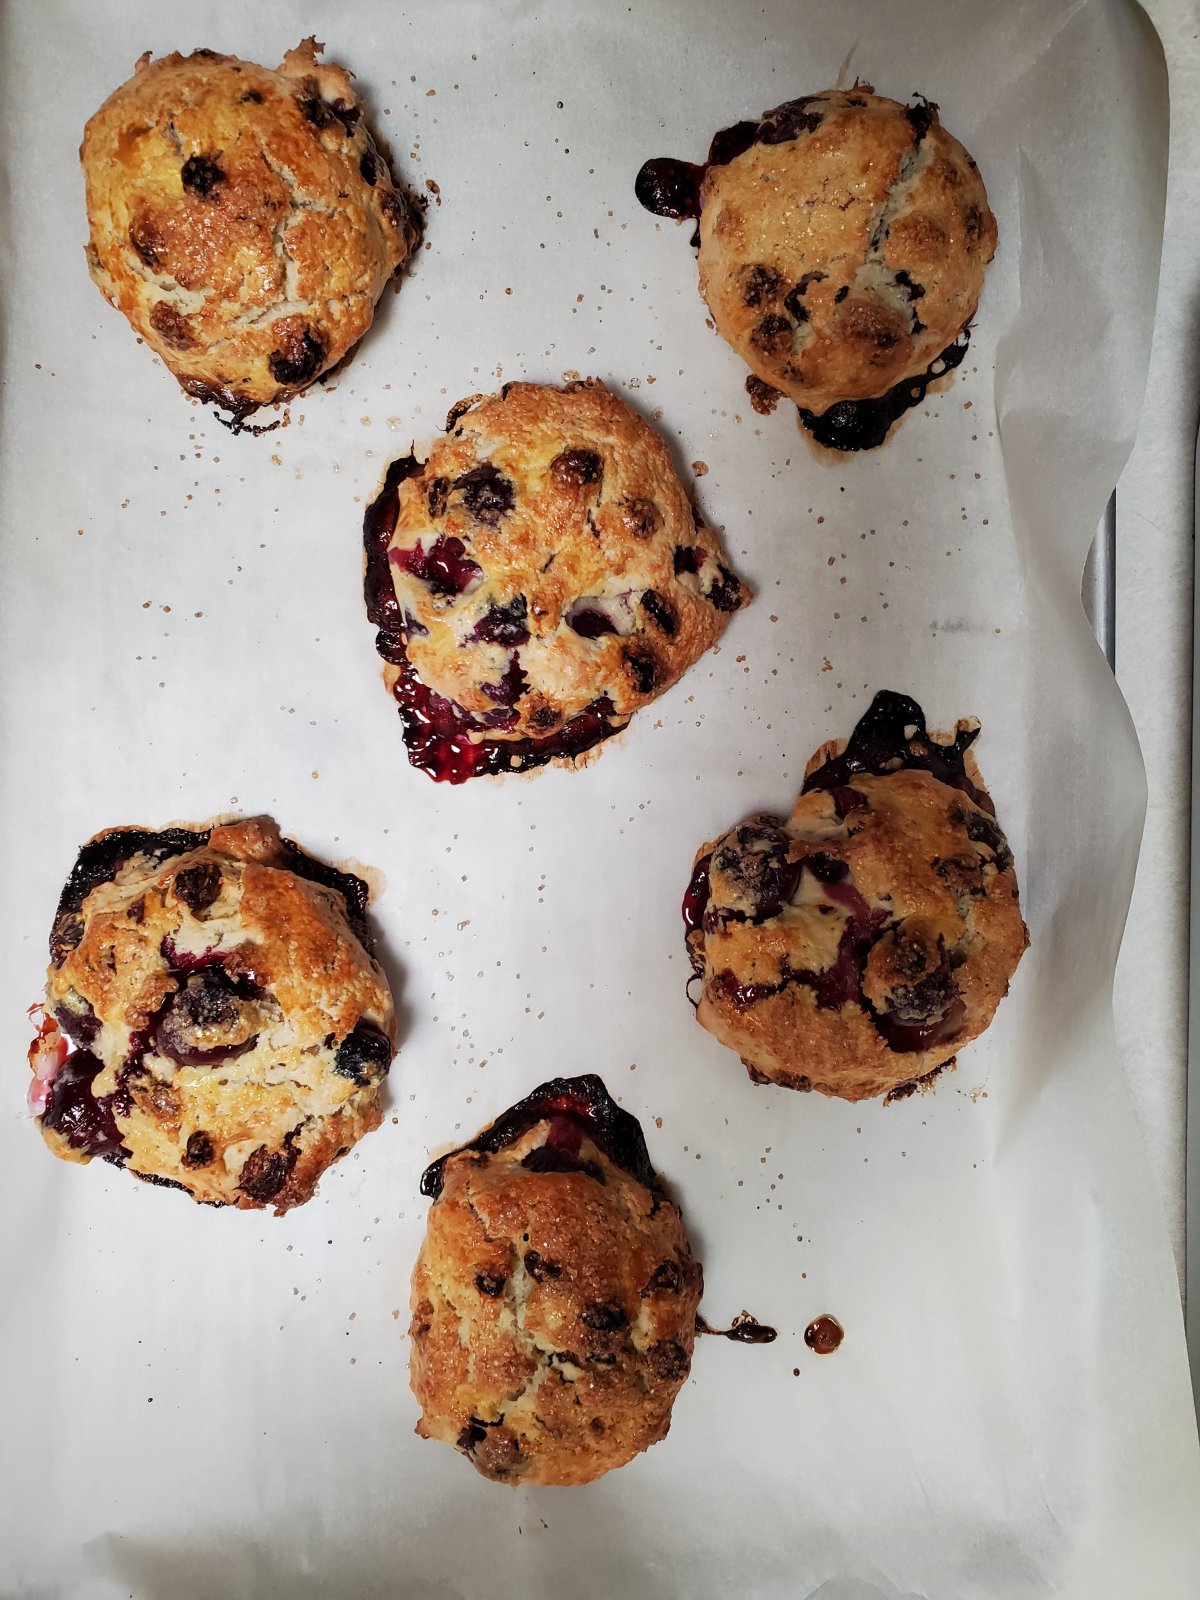
But what should be my first bake from this book? I was inspired by what was in the refrigerator, cherries, and ricotta I’ve was saving for cannoli pound cake from Smitten Kitchen (one of my favorite pound cake recipe). It would be Ricotta Cherry Scones.
The only problem I was missing a few ingredients: superfine sugar, creme fraiche, and dried cherries. Once again, I’m winging it because I’m just too lazy to run out to the market. I decided to use regular sugar (I’m sure it would come out better with superfine, but with the limited space in the kitchen, regular sugar would work out fine). I happen to have sour cream, and that would be my replacement for creme fraiche. And I had a small amount of dried cherries but not enough. So I made up the rest with blueberries and golden raisins.
One great takeaway from this bake is pitting cherries with a stainless steel straw was quick and easy. Don’t spend your money on pitter. The straw worked out great.
weighing out the ingredients
mixing in the butter
whipping up the wet
As you can see how this is going, it would turn out to be quite the improvised bake.
As I measured out the wet ingredients, I had just a little bit left of ricotta and sour cream. I just dumped it in. I can’t stand waste or leaving just a little bit to go bad in the refrigerator. Well, I will end up adjusting the flour at the end to thicken up the batter.
Oh, I forgot. My mom told me to use the blueberries that we had hanging around.
right in the overn
right out of the oven
With all this improvisation, I got a baker’s dozen instead of six. Haha. I was a little worried this would be a total fail because I went off so much. But in the end, these turn out delicious and light. I would add more zest next time. I think it would make it even better. I can see how an all cherry version would be so delicious. I used Joanne’s suggestions and froze half the recipes for another time. Definitely a make.
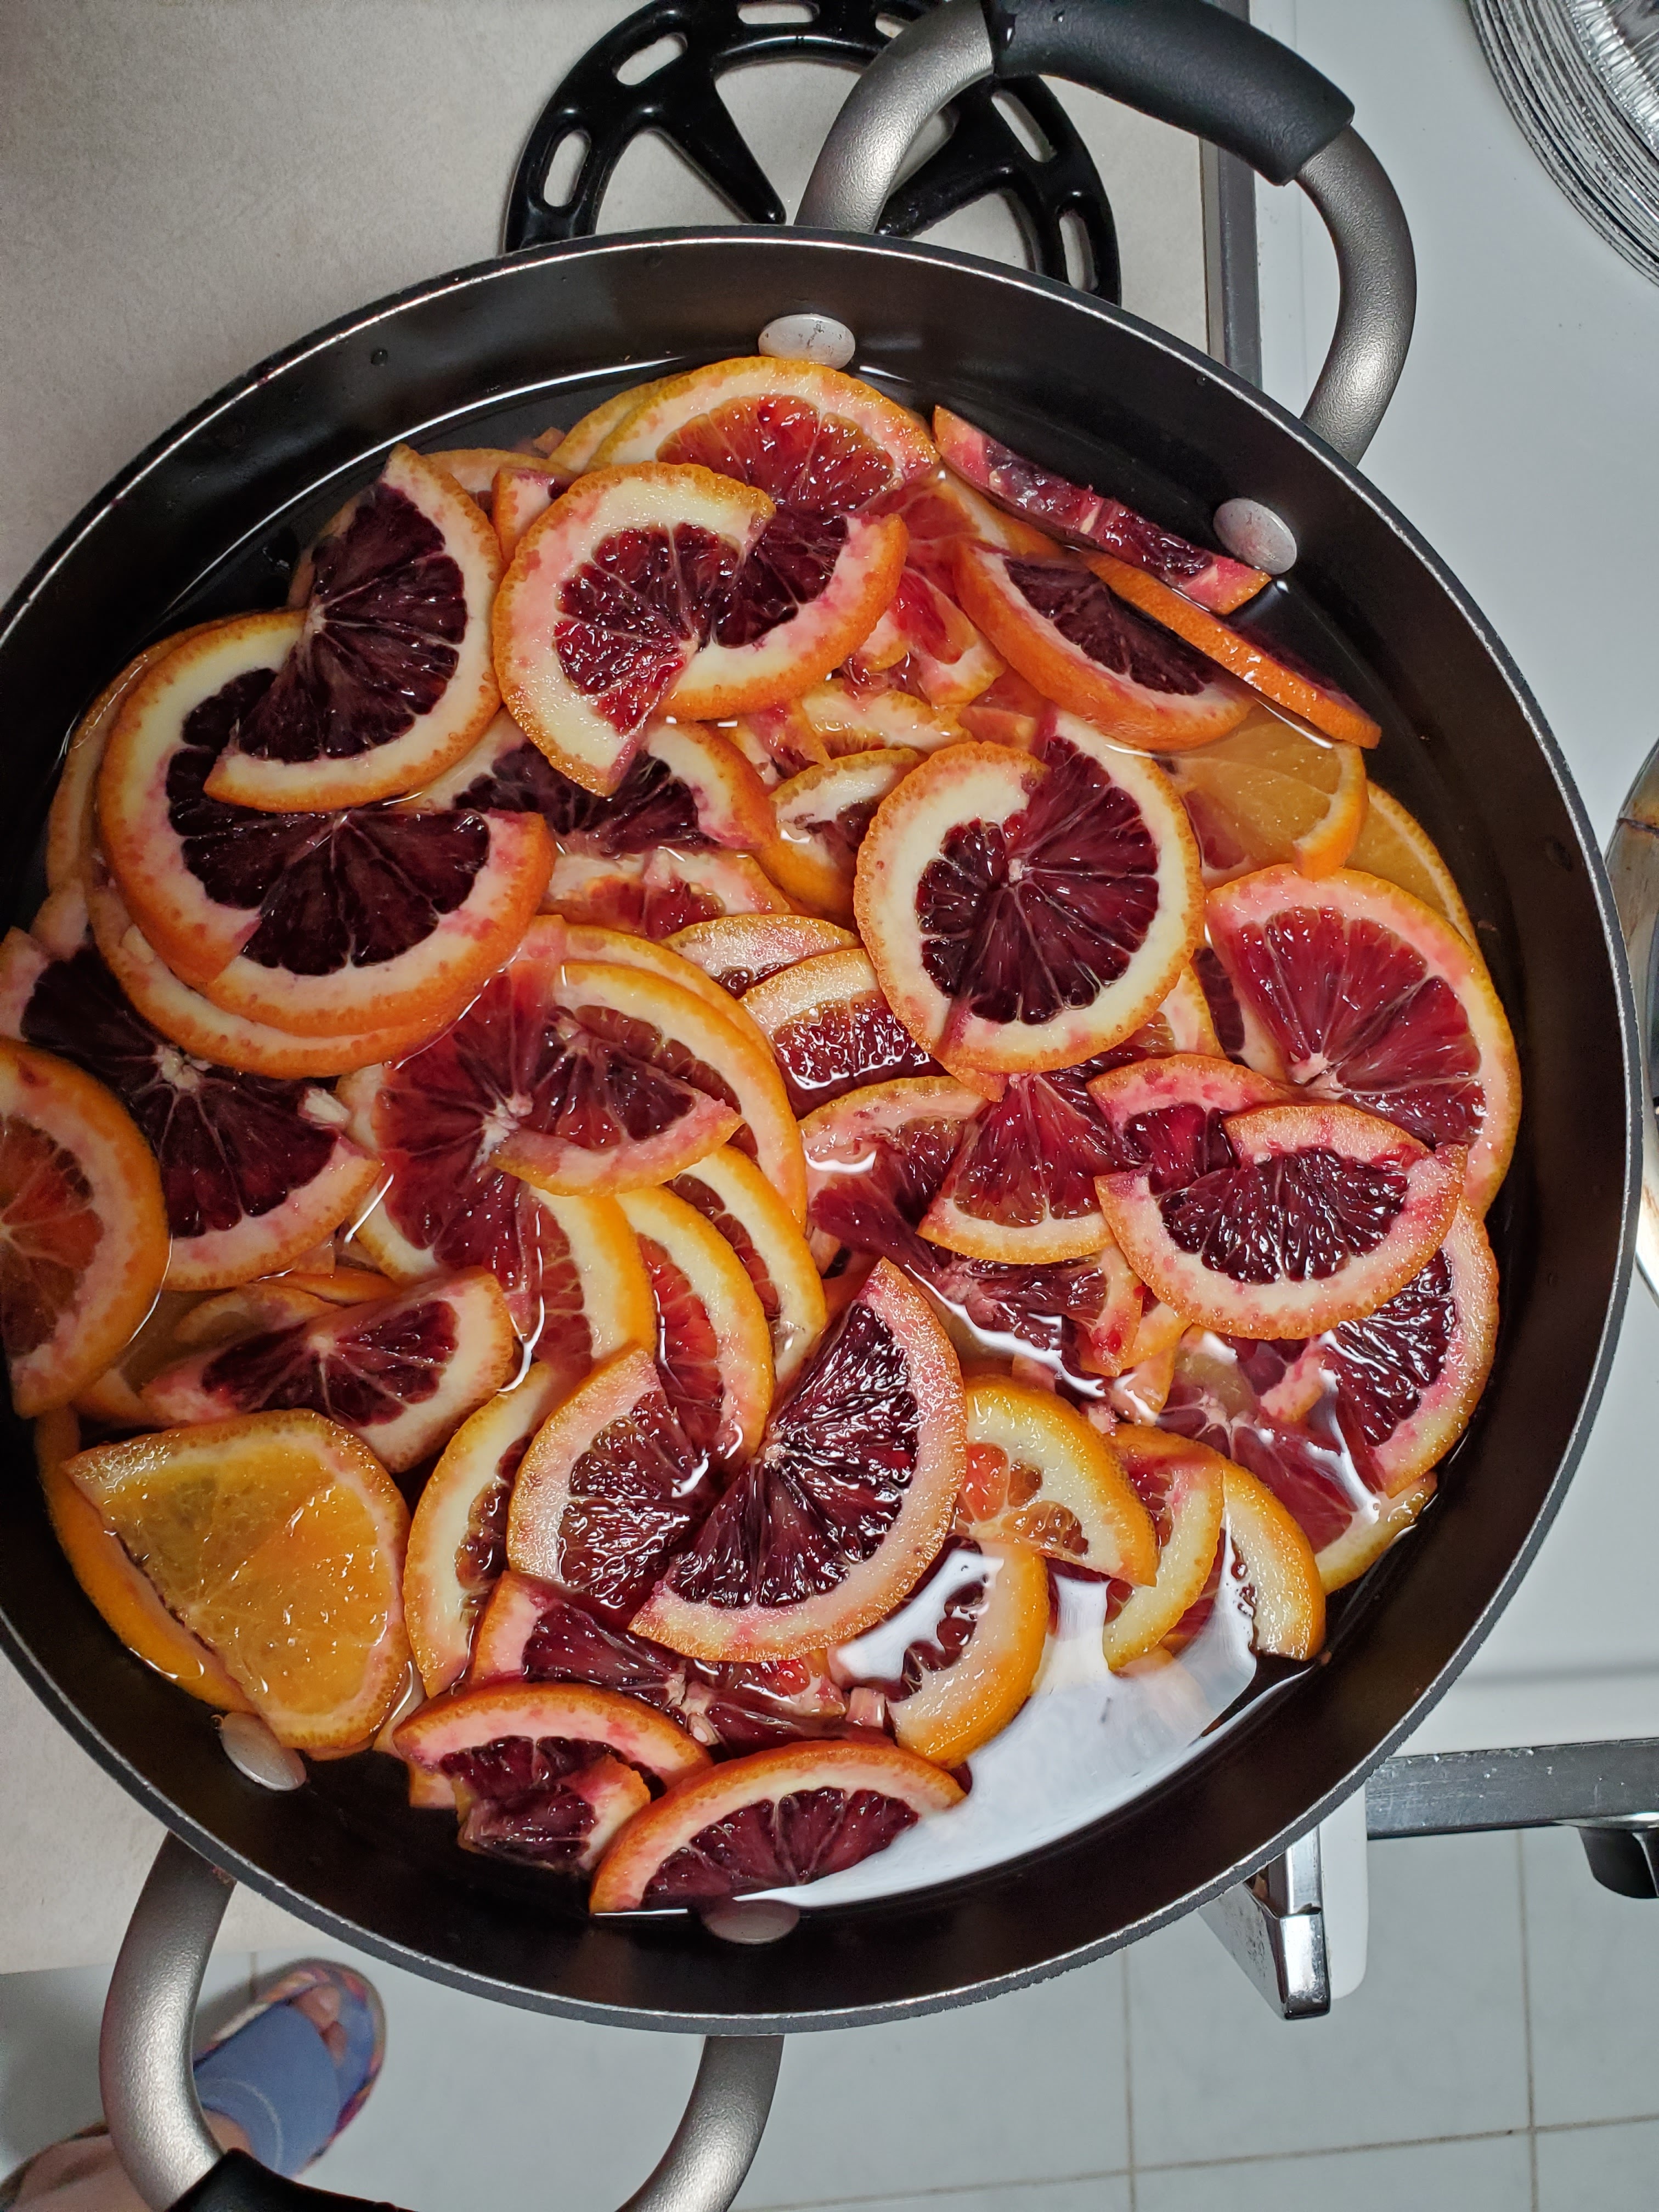
Raspberry orange? Is this blood oranges? I’m thinking as I hold up a bag at the grocery store. Two 3lb bags for $6 was a deal if it’s a blood orange. Guess Raspberry Orange is a more appetizing name then blood orange. I decide to buy a bag to give them a try with on some marmalade.
These were very juicy and sweet with slight bitterness that blood oranges usually have. They were beautifully dark reddish purple with a bit of orange at the tops. I googled Raspberry Orange. There isn’t a specific reference to a name change. Just a description about how blood oranges has raspberry-like flavor and scent.
Here’s a recipe for my Raspberry Orange Marmalade. It’s a loose recipe as I usually go by taste to adding a bit more sugar if it is too bitter.
Raspberry Orange Marmalade
3lbs Raspberry Oranges, sliced as thinly as possible into half moon shapes. If there are seeds, discard. 3 cups of white sugar with adjustment water to cover
Place sliced oranges in to your jam pot, cover with water and soak overnight. This is to take some of the bitterness out. Next morning dump out the water the oranges were soaking in. Then add enough water to cover, bring water to boil, turn down heat to medium to medium high to simmer. Add sugar and stir till mixed in. Continue to simmer, stirring occasionally.
Marmalade needs to cook a long time to thicken up. As it thickens, I start tasting for bitterness and flavor. I’ve found adding a little more sugar helps with the bitterness. Add about 1/4 c of sugar at the time, till the taste is right. There should be some bitterness. it does mellow as it cools. If it is too sweet, I add lemon juice.
There may be foam or some missed seeds while cooking. Skim them out so your marmalade clear.
You will start noticing when stirring the marmalade that it is thickening up. The weight of marmalade will become heavier. It also start looking glossy and the rind start looking transparent. Your marmalade will never be as thick as store-bought one as they use a lot of pectin and preservatives.
Here’s a jam testing method. At the start of the marmalade cooking session, put a small plate in the freezer. When you feel like the marmalade (or jam) is done, place a dollop on the plate. The coldness of the plate sets it up that if you draw your spoon (or finger) through the dollop, it leaves a trail. I don’t use that method. I always for get to put the plate in the freezer. I watch for the stickiness on my spatula as I stir. As you marmalade (or jam) cools it does get thicker.
On the first taste: not sweet enough, a bit too bitter, just kind of bland. I added 1/2 cup of sugar. Continued to cook. I got it to the point of when I could tell it was almost done. It was thicker, rind was transparent, it was kind of clumpy, and looked glossy. I did the last taste test for sweetness. It was good but I thought it needed brightness. I usually add lemon juice but only had calamansi (like sour orange). I added the juice of six calamansi and gave it a stir. You can use lemon or lime juice, about 1/4 cup. I gave Mom (she’s the official taster) a taste, and she thought it was good. This batch made 7 half pint jars. It took about 3 to 3 1/2 hours to cook down and can.
Good luck with your marmalade. It is a long process to cook down liquid to sweet/bitter goodness but it is worth it. It’s great on toast with butter, good vanilla ice cream, and plain yougurt.
What do you do when you are waiting for Hurricane Douglas to arrive. Well, I decided to make a dinner of Japanese dishes that I’ve been wanted to try for a while. Tonkatsu (pork cutlets with savory sauce) and simmered daikon (Japanese radish). My mom added spaghetti salad (like Hawaii Mac salad but with spaghetti).
I started cooking around noon-ish just in case we lost power. Started with the simmered daikon in a dashi sauce. I used TabiEats Simmered Daikon [link: https://youtu.be/GXpiOZ6QrYE]. I just started watching Shinichi and Satoshi’s Youtube channel about food and travel. They do feature Japanese recipes and this recipe looks so delicious, plus I got two more homegrown daikon from my mom’s friend.
Prepping the larger of two daikon
more like 1 1/4″ thick
bringing to boil
cooking in sauce
Sliced the center section into four 1 1/2″ pieces. They all should all be the same height and size to cook evenly. I peeled and rounded the edges of the rounds. Satoshi explained the rounded edges help the daikon from breaking apart. Then place and “X” one side of the round, about 1/2 inch deep. This “X” helps the daikon absorb the sauce it is cooked in.
The daikon is prepped for cooking. Place in pot big enough to fit all of the rounds in a single layer, “X'” side down. Satoshi suggest to a 1 tablespoon of uncooked rice to the pot to help take out impurities from the daikon. Add water to cover the top of the daikon. Bring to boil then turn down to simmer. Cook to daikon is soft, to test stick a screwer or paring knife in the center if it goes in and comes easily, it is done.
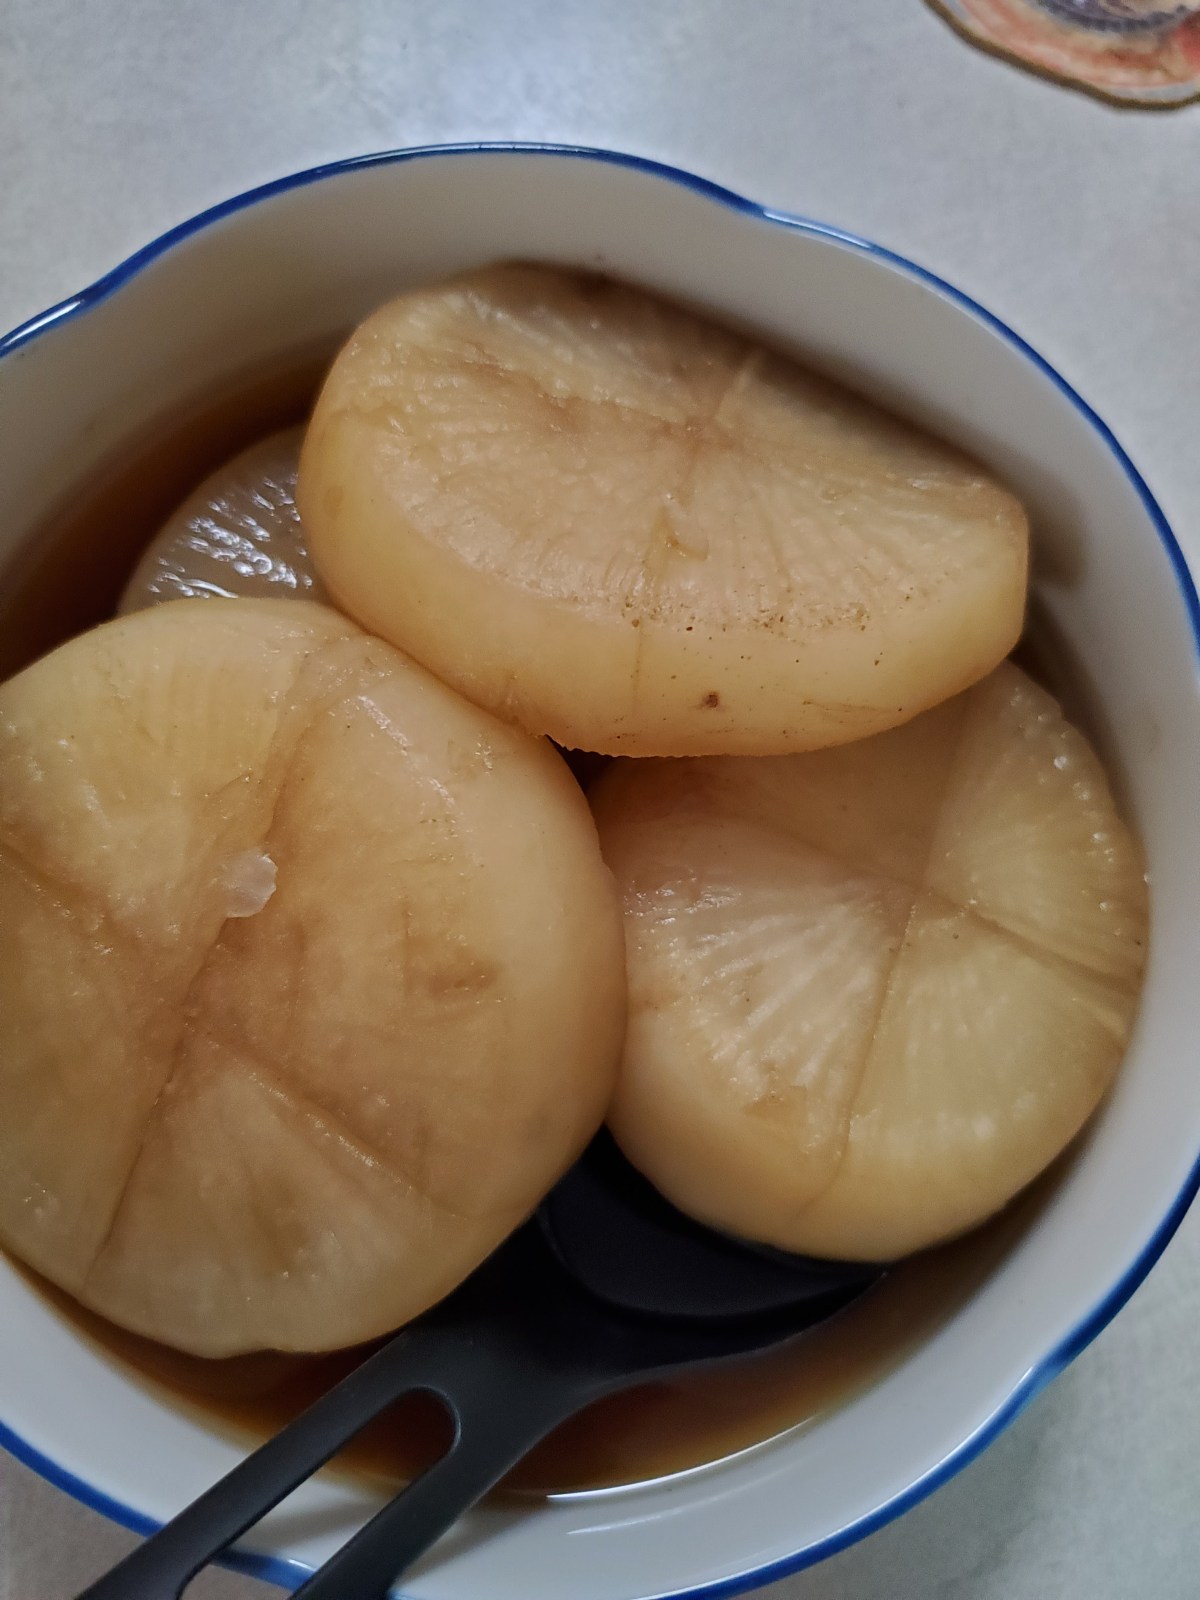
Once daikon is soft enough, put is a bowl of water to clean and add to a clean pot (as before in a single layer) “X” side down. Add sauce ingredients bring to boil, then turn down to a simmer. Cook to daikon turns a light brown. I did help the daikon along by spooning the sauce over them every so often.
Ready to eat
Serve with a little bit of sauce. It was so tender and sweet with the mild dashi flavor. I could eat this as my meal with pickled veggies and rice. Yum.
While I was simmering the daikon, I prepped the leftover daikon to make shoyuzuke (pickled daikon in soy sauce). I made shoyuzuke with cucumbers and celery and decide to try it with daikon. I quartered, sliced and salted the daikon, letting them sit longer that I usually do with the cucumbers. I then added the slices to the my mason jars, then added minced ginger and a chopped chili pepper. I poured the brine in to the jars. They should be ready to eat in 3 hours but we’ll try it tomorrow as we needed to finish the other daikon that I made. I swished around the brine to get the flavor to the top.
No finished shot yet. I’m letting it sit in the mustard get more flavor. This is my first eggplant Tsukemono. Let’s see how it goes.
Now for the main course, Tonkatsu. Been thinking of the fabulous tonkatsu I had on my trip to Japan last year and decided I’m going try and recreate it.
I really like Just One Cookbook’s recipe and decide to try it out. Here’s the link: https://www.justonecookbook.com/tonkatsu/ I also used her recipe for tonkatsu sauce.
first fry
after 2nd fry
ready to eat
I really like the technique she gives for frying it really was crispy and still juicy, not oil. Next time I’m going to use the boneless pork chops instead. I picked up different cut was sliced thinner than pork chop. But I can see how a thicker cut would taste better, more like what I had in Japan. Her tonkatsu sauce was good, I would add less sugar or some shoyu to make it slightly more salty.
One last thing is Mom’s spaghetti Mac salad. Hawaii Mac salad has hard-boiled eggs, potatoes, elbow macaroni, and Best Food mayonnaise. This salad uses spaghetti instead of macaroni, adds, can of black olives, minced onion. Looks a bit odd but it’s a great combination.
we had some at lunch
That’s my Hurricane Douglas dinner. It’s was good use of waiting around in the humidity before the storm. I think we dodged a bullet and the storm move north and we probably missed what could have been bad. Glad I did something productive and tasty at the same time.
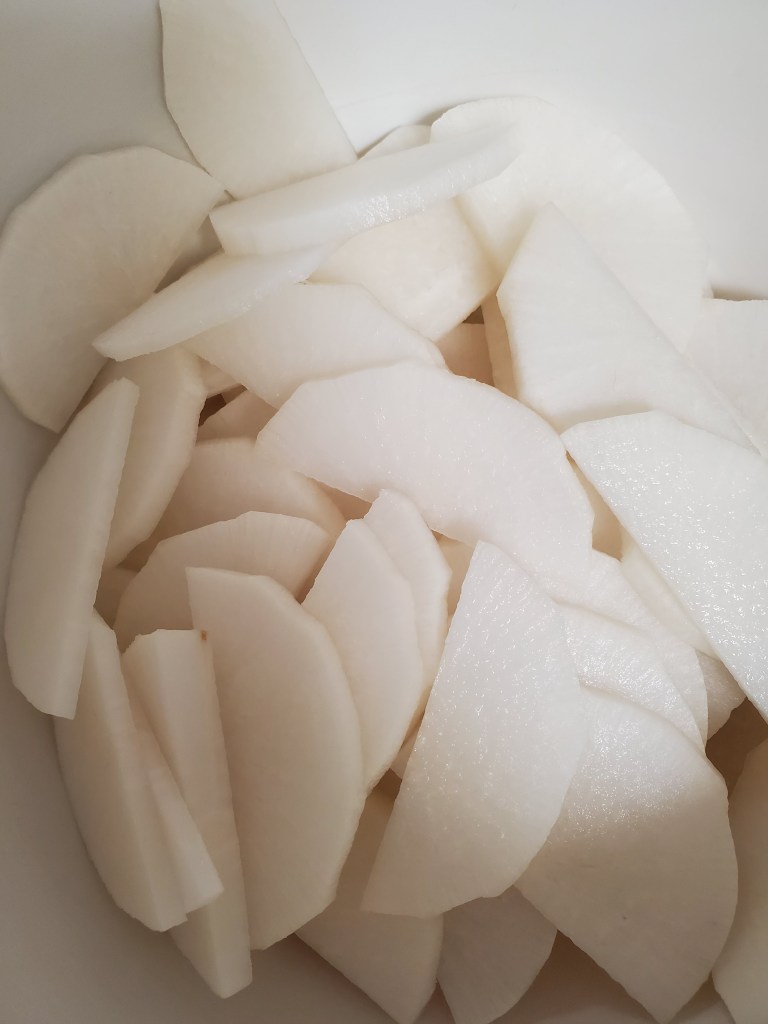
Decided to try out a daikon (Japanese radish) Tsukemono recipe. I had a daikon left of from my tonjiru recipe and I’ve been wanting to try this recipe for a while.
I peeled and sliced the daikon into 1/4″ thick slices. Then everything goes into a ziplock bag.
rest of the ingredients for the pickled daikon
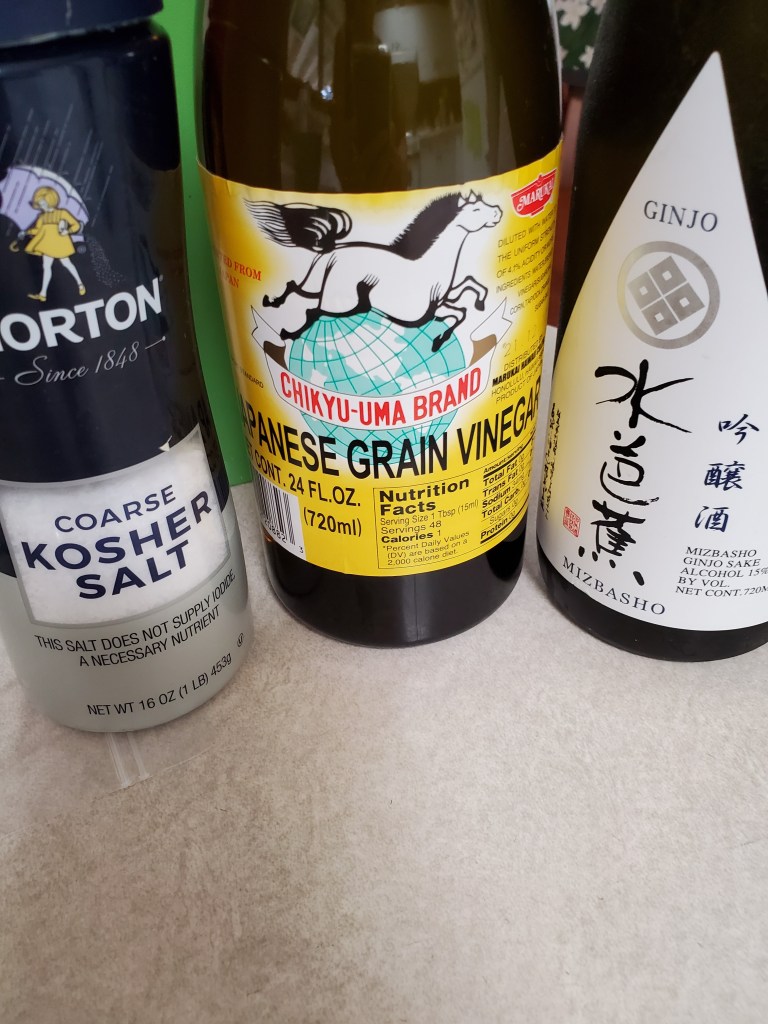
Toss in rest of the ingredients (kosher salt, rice wine vinegar, sake, chopped dried chili, and sugar) into a ziplock bag with the daikon. I didn’t have dried chili so I tried a small fresh chili.
Lock the bag and mush all the ingredients together. Open and close bag, getting as much air out of bag. Toss in the refrigerator and let sit for 2 days. I turned and mushed the ingredient around after the first day to distribute the brine again.
I peeled and shredded the papaya. I use a julienne peeler but you could use a mandolin or do the the Thai way with the knife. I took the easy way out. The green papaya was to be hard to the touch, and the skin was shiny. One was a bit riper than the others but was okay to use.
dried shrimp soaking in water
I soaked the dried shrimp in water to soften up and started to prepare the dressing.
dressing of fish sauce, lime juice, garlic, sugar, and chili pepper
The dressing has fish sauce, lime juice, garlic, sugar (coconut sugar if available), and fresh chili pepper. You can use a mortar and pestle or food processor to bring it together but I chopped the garlic and chilis well and mixed to gather in my measuring cup.
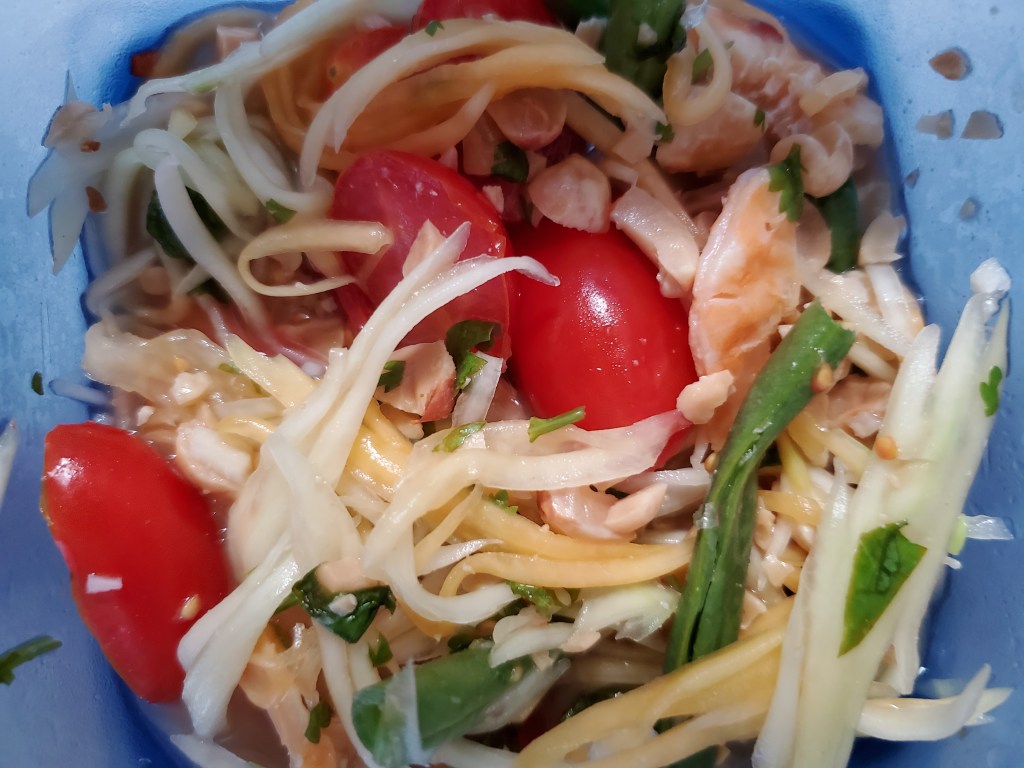
Also in the salad is grape tomatoes, halved, green beans, sliced into 2″ sections, chopped peanuts, and chopped cilantro. Add all the ingredients to a bowl and toss well. I made this ahead around midday to have it at dinner. I let it rest and marinate in the refrigerator till it was time. I forgot to take a picture of the finish product but got one a day old.
leftovers for tonight’s meal
It was delicious and would definite make again if I can get the green papaya.
I’ve been on a kick with Japanese pickles, tsukemono. I followed a recipe from Just One Cookbook youtube channel for Shoyuzuke (soy sauce pickles). She made on sauce with 4 different veggies. I decided to try the cucumber and celery version.
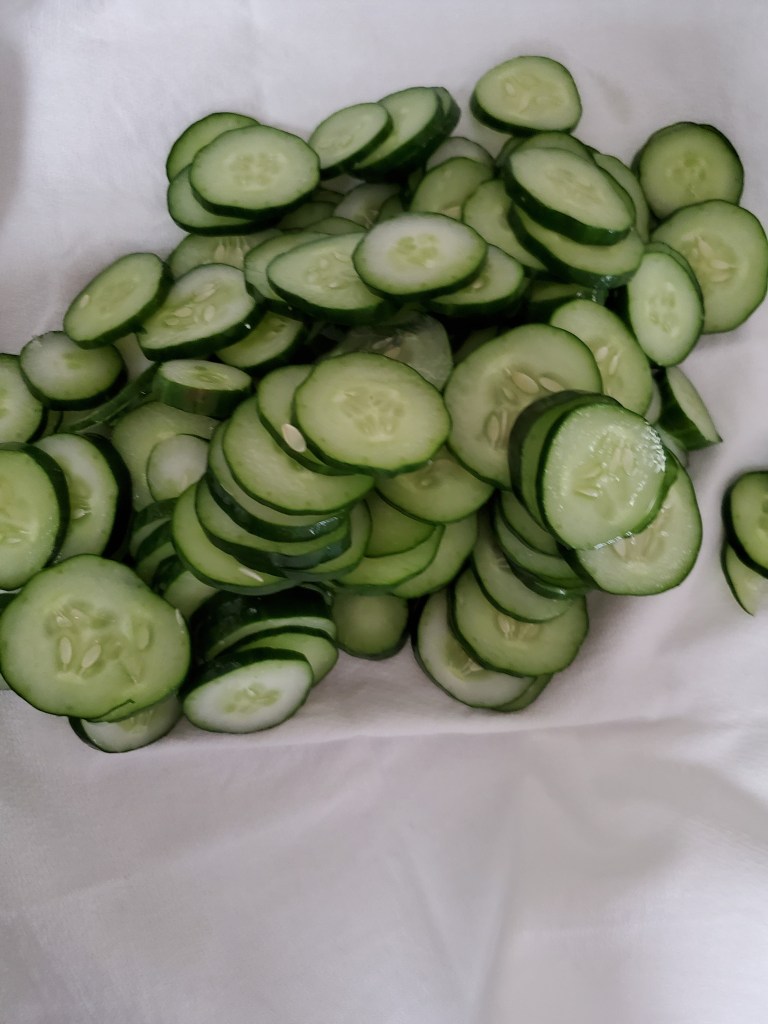
I made this version before and really like them. This batch I added the shredded salted kombu and minced ginger. This time I sliced the cucumber thicker than previous version.
I salted and massaged the cucumbers, let it set for about 5 minutes to get excess water out. I followed Just One Cookbook and used a dish cloth to get as much water out as possible.
I used 3 large Japanese cucumbers and it filled 3 quart size large mouth mason jars. I added the salted shredded kombu (soaked in water to soften then squeezed out the excess water) and minced ginger.
I made 3 recipes of brine, to for cucumbers and 1 for the celery. I add the brine to the 3 bottle. Brine will not come up to the top of the bottle, probably about 1/2 to 3/4 of the way. This is where the weights comes in but I didn’t do since I didn’t have it.
Instead of weights, I just shook the brine around in the bottle, tipping the bottle upside down. I kept the cucumbers on the counter for about 2 hours shaking the bottle when I remembered. Then in the refrigerator. They are ready to eat in 3 hours.
Celery
I didn’t get pictures of this process but I had celery that I wanted to use up. I followed the recipe per the video and I made enough for one bottle. I used the same shaking technique as the cucumbers.
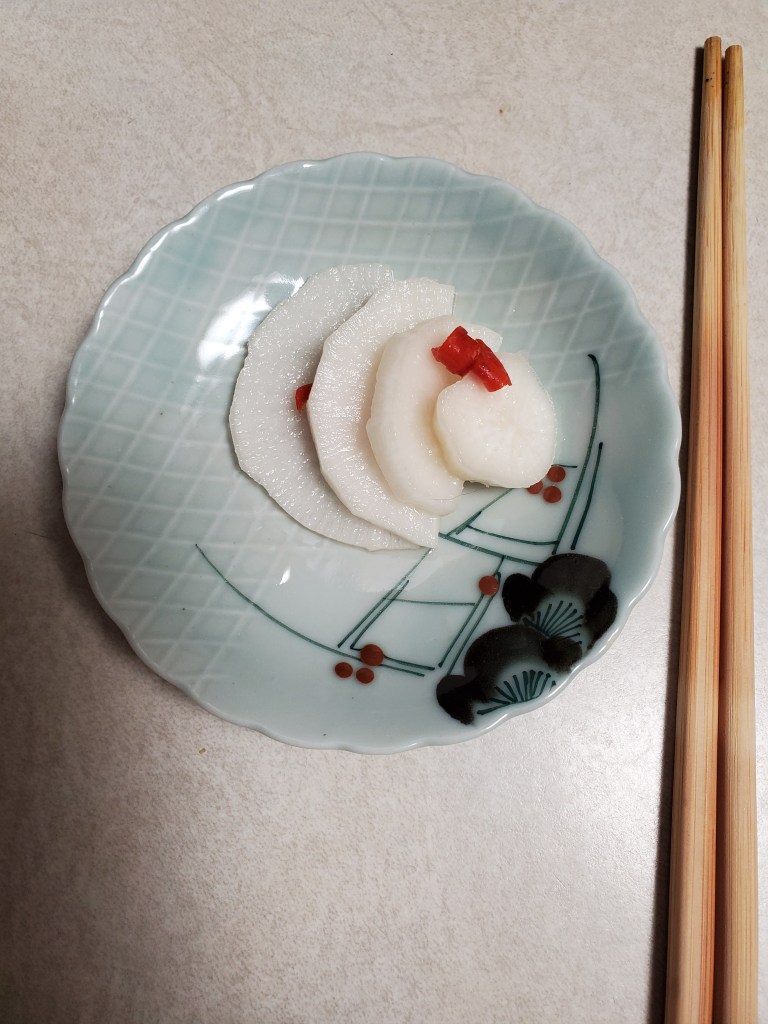
Here’s the final product of my work.
celery on the left and cucumbers on right
Final review from Joe and Cora: Oishii (delicious in Japanese)
My review: love the crunch and the flavor of the celery. Like the what the sesame oil in this version. Cucumbers are better thicker and love the combination of kombu and ginger.
Worth the try. Great on the salad and no dressing needed. Next up daikon tsukemono.