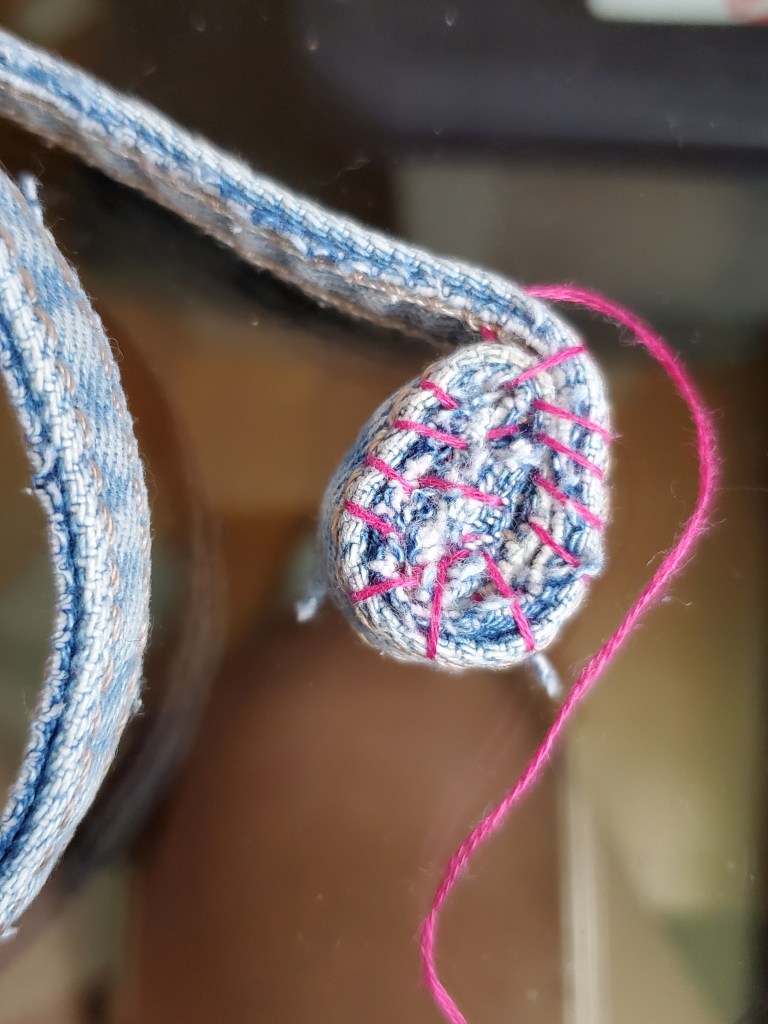
What do you make with jean seams and aloha shirt scrap? I made a trivet using hand-stitching. I also taught myself how to use a thimble. It helped a lot with all the stitching on denim.
startadding aloha shirt scraps for more colorseam scraps
I love the look of all the ends but decided against leaving it as is. It would probably get too dirty.
back side with thread ends front done
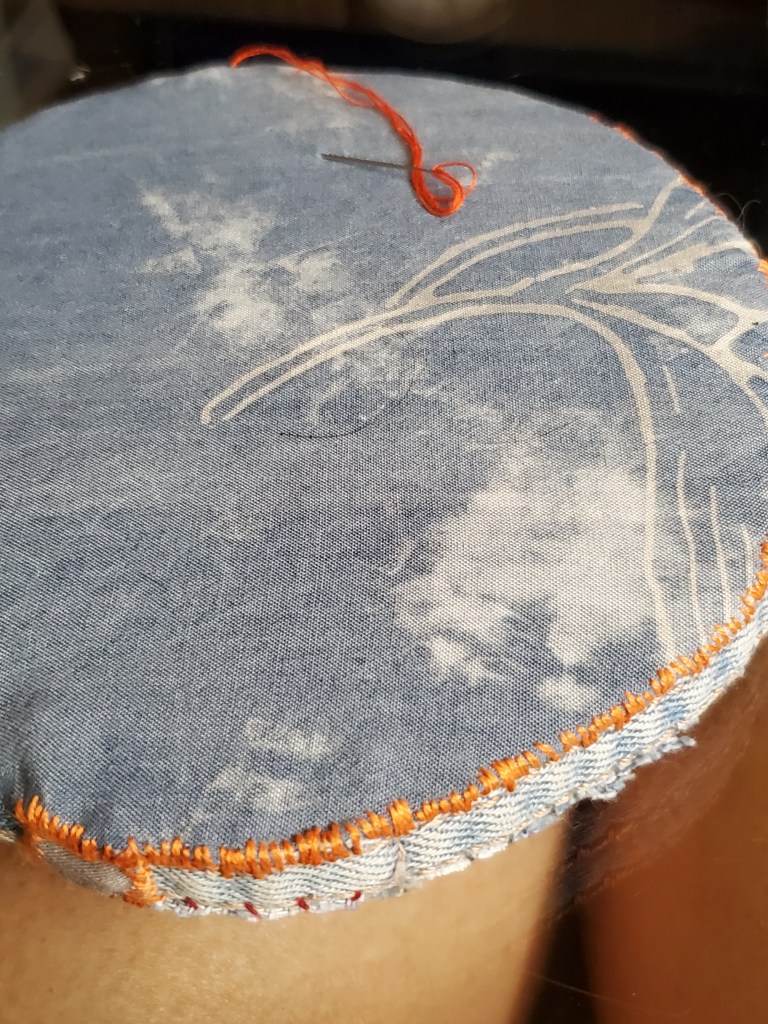
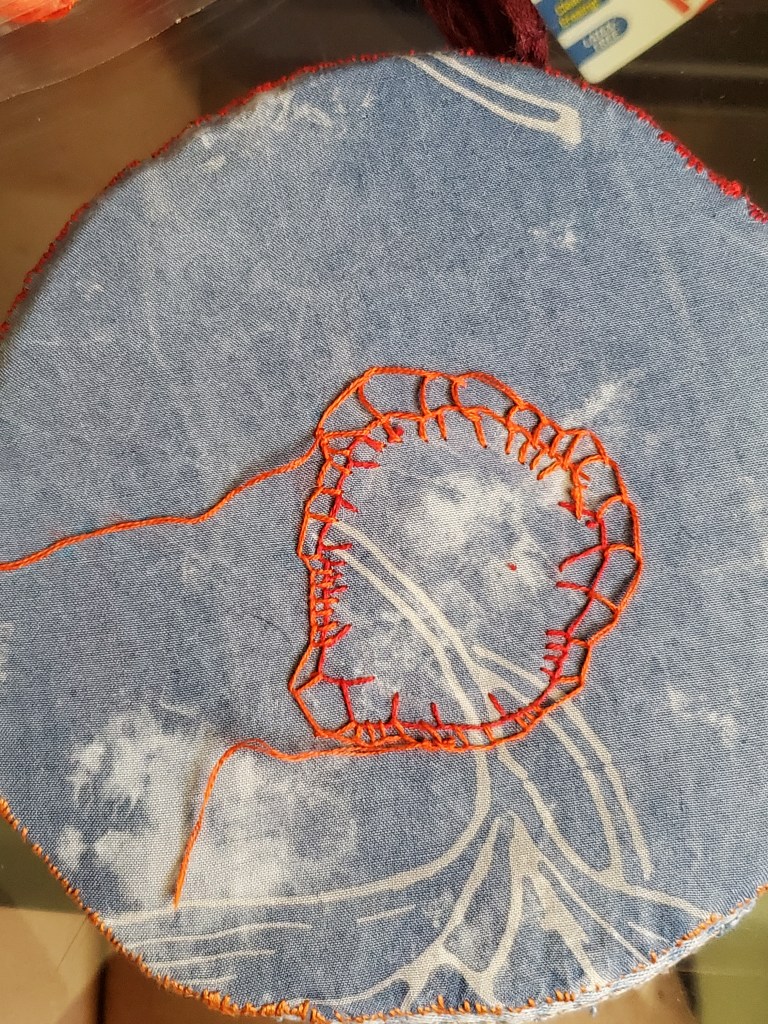
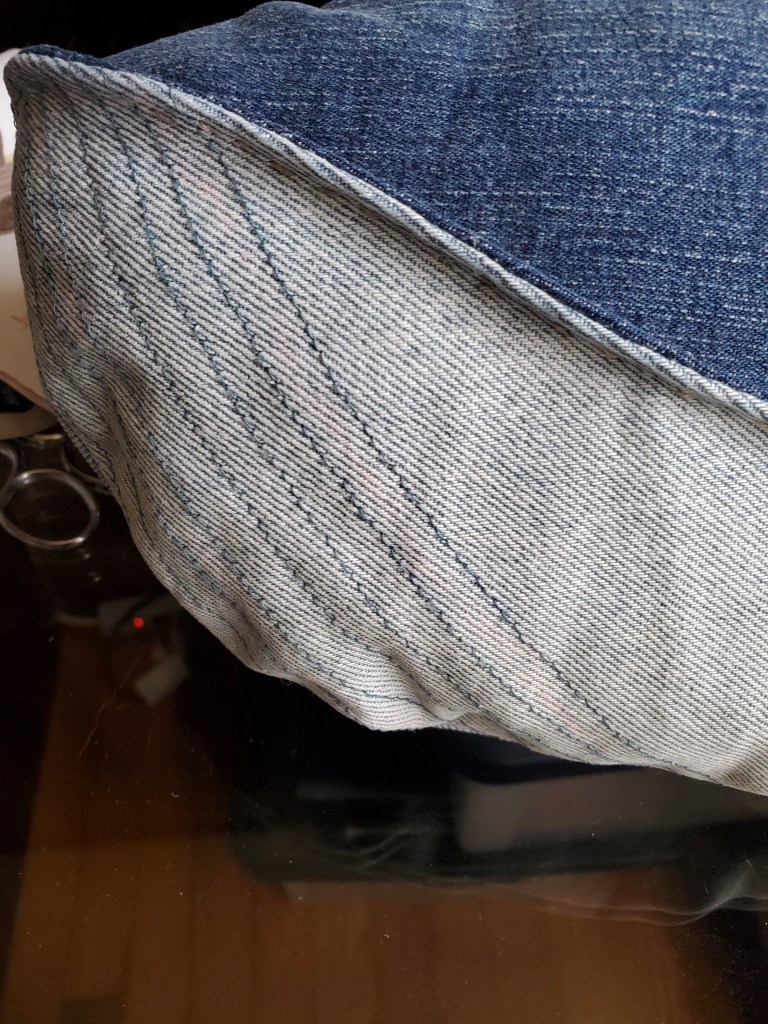
I lined the back with a large scrap from my whale project to hide the rough edges and give it a little more support. I tried out the blanket stitch technique from the Zen Stitching workshop from Mirjam Gielen .
backingblanket stitchadded center closeup of centerback done
In the end, there really isn’t a front or back. I guess whichever you prefer. This project took longer than I expected. Stitching through denim is tough. But I liked the finished product. More to come.
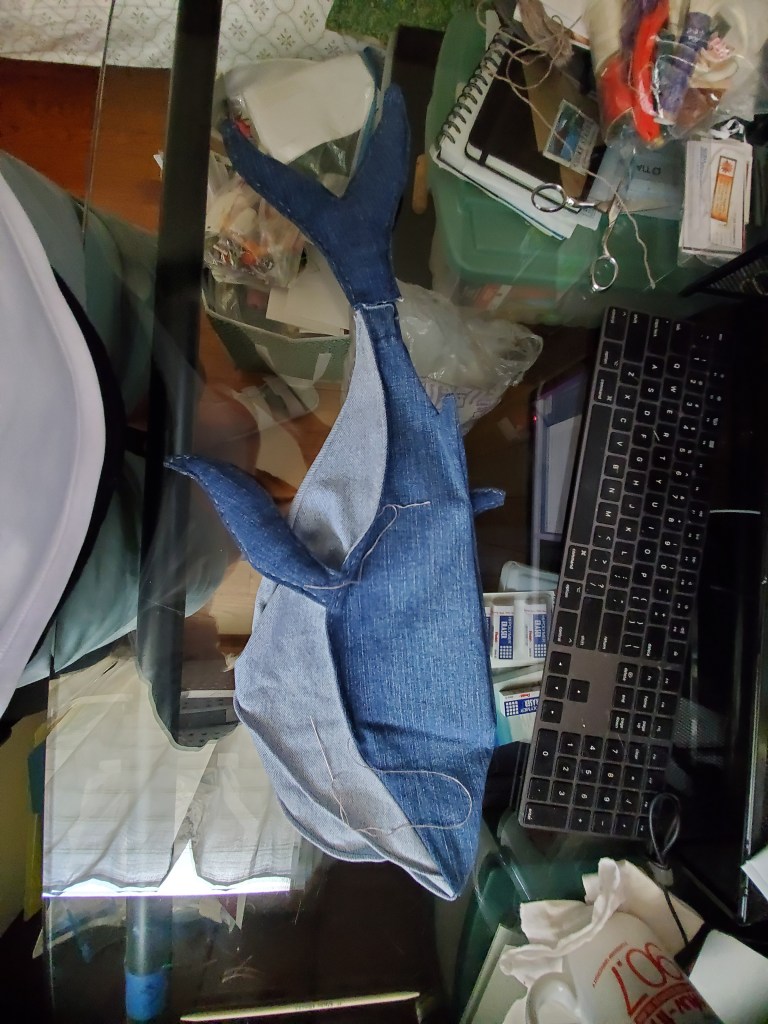
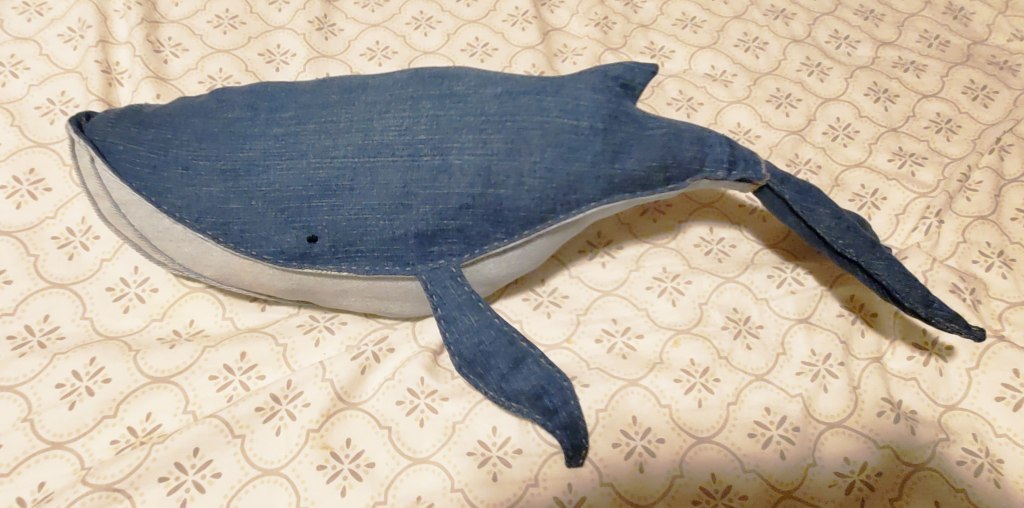
I’ve been working on several upcycling projects, and I’m proud to show you what I’ve done. I worked with a couple of jeans and a batik print dress. I started out with the jeans, one dark, and one light denim. I decided to try out the denim whale I’ve seen on Pinterest. I got the pattern from FourSixtyTwo.
The Denim
Mom’s capri jeans
I had two pairs of jeans, mom’s capri jeans and old pair of acid-washed ones. Yes, acid-washed, and it had a high waist and pleats. It was straight from the 80s. The first task is to take apart the clothing. I cut the legs off on the jeans, getting as much of it as possible. I’ll save the top of the jeans for later for another project. I then rotary cut the seams and put them aside to see if I could come up with a use for them. I also took off some buttons from the darker jeans. I used the darker jeans for the top of the whale and the acid-wash for the belly. I started out machine sewing, starting with the tucks on the stomach. So far, so good. Then I started on the fins and tail. It was a no-go when turning it to the right side [for all the non-sewers, you sew the pieces together with the right sides facing together, stitching on the wrong side]. The pointy tips looked bulky and bumpy because of the thickness of the denim. Boo! Instead of fighting with the seams, I ripped out the stitches and decided to hand-stitch the tail and fins [for the hand-stitching, it is sewed right side out]. Then I continued with the hand-stitching with the top-stitching on the tail and fins, and to be consistent, the body, once I attached it to the body.
tail pinned for hand-stitchingtop-stitchedready to be stuffedTah Dah! Whale #1: with pleats on the belly
Wow! I liked the look of the finished product. I decided to do another whale because I had enough fabric. I made a few adjustments to the pattern to help the points of the tail and fins lay better. I also decided to try eliminating the pleats on the belly and machine-stitched the underbody instead. And for Whale #2, I hand-stitched the entire whale except for the top-stitching on the underbody.
Closeup of the machine-stitched underbody
Batik Dress
batik dress from the 80s
I thought the whale would look great in a print, maybe an aloha print. I liked the gray and navy section of the dress for the whale and thought the bleached pattern looked like marks on the whale. The fabric was rayon; it was soft and flowy. I lined all the pieces with some lightweight material to give them stability.
The lined pieces were lighter than the denim, so I decided to use the machine on the larger sections of the whale. I added top-stitched the underbody where the pleats should be, then stitched the underbody together. I handstitched the fins and tail together to keep the points sharp, lay flat, and added top-stitching.
machine top-stitching on underbodystuffed whale and Orange the cat
Hand-stitching
I took a stitching workshop in May through Zen Stitching to get inspired. It was five days of classes. I was able to take almost every session I wanted to. I loved that I found others who combined upcycling, boro, and hand-stitching.
I added a few techniques to the whale. I added groups of running stitch using a bleached print to inspire the pattern. I also added French knots. I like how it came out. Now, if I can only get these posted on my Etsy shop.
Adding hand-stitching to the underbodyHiding the endshandwork
This is what I’ve made so far this first quarter of 2022. I wanted to keep track of what I’ve done. Trying to keep myself busy.
Food
Top to bottom, left to right: Laurie’s pear cake, chocolate cupcakes with sprinkles, cheese biscuits, pickled veggies, chichi dango, roasted sweet potato pudding, Costco rotisserie chicken broth, tuna tofu patties, fig and orange jam, caramelized onion and zucchini quiche, pad see ew, roasted tomato salsa
Craft
Top to bottom, left to right: stitch and mend sampler, denim whale with pleats, Feather and fan scarf, denim whale with topstitching, Hawaiian quilt pillow, Aloha shirt blanket, Year of Hat March hat, garment cover with upcycled aloha shirt
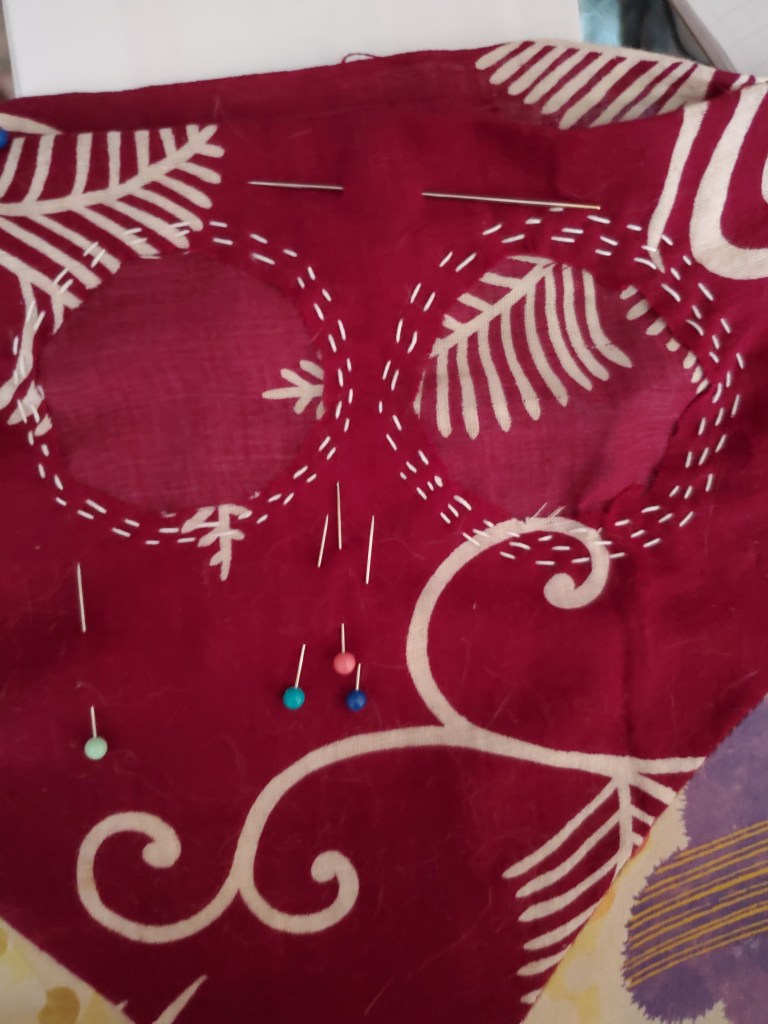
I started this a while ago, sometime during the pandemic. It’s this pillowcase I made with vintage Japanese fabric a long time back. It has begun to fray. I took off with the intent to patch the fraying pieces with some new material. Then I happened upon several articles and videos on boro.
Boro in Japanese means ragged or tattered. I grew up with the term boro-boro when you wore clothing that was falling apart. Boro is a style of patchwork using old cloth and sashiko (running stitch). Here’s a link to an article I found on boro. That goes into more detail. I love that some of these boro pieces are generational and turn into something new again. The graphical quality and direction that the stitches add to the patches are what I like about boro.
I decide to use this pillowcase as a sampler of different stitches and applique to find something I like. Maybe come up with my style. I also wanted to test out if I like hand-stitching.
I started off doing the basic running stitch, learning how to get my length consistent and find a size I like. I purchase sashiko thread and needles (sidebar: I’m a sucker great packaging and the packaging on these needle are great)from Amazon. I got the traditional off-white color. I do have a bunch of different embroidery threads that I could use also.
This is where I started. Working it as a sampler to teach me about boro and sashiko.
Adding a patch on top the old
practicing the stitch
holes in the Japanese crepe fabric
patches
more stitching
more patches
stitching and patching
The start
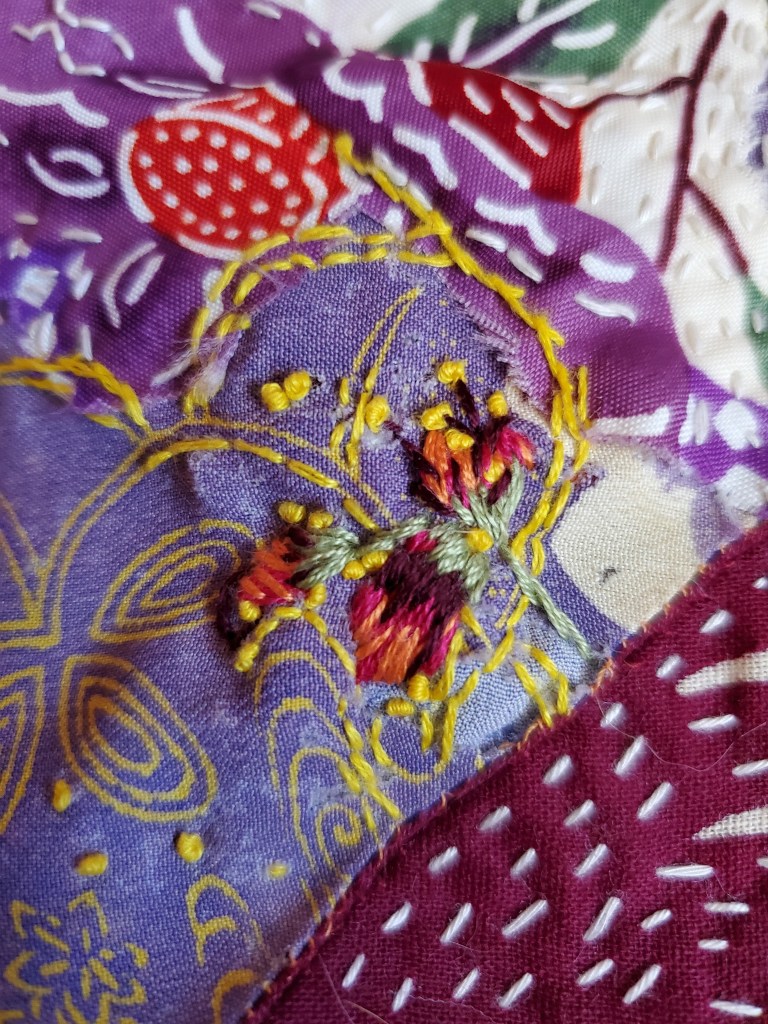
I stopped and hung it on the wall for a long while as I worked on my many other project sitting in my queue. I think I got tried of stitching and not sure where I was going. Then just this week I picked it up wanting to start stitching again. I think I’m seeing it more than a sampler. I might have to make a new pillowcase.
little buds
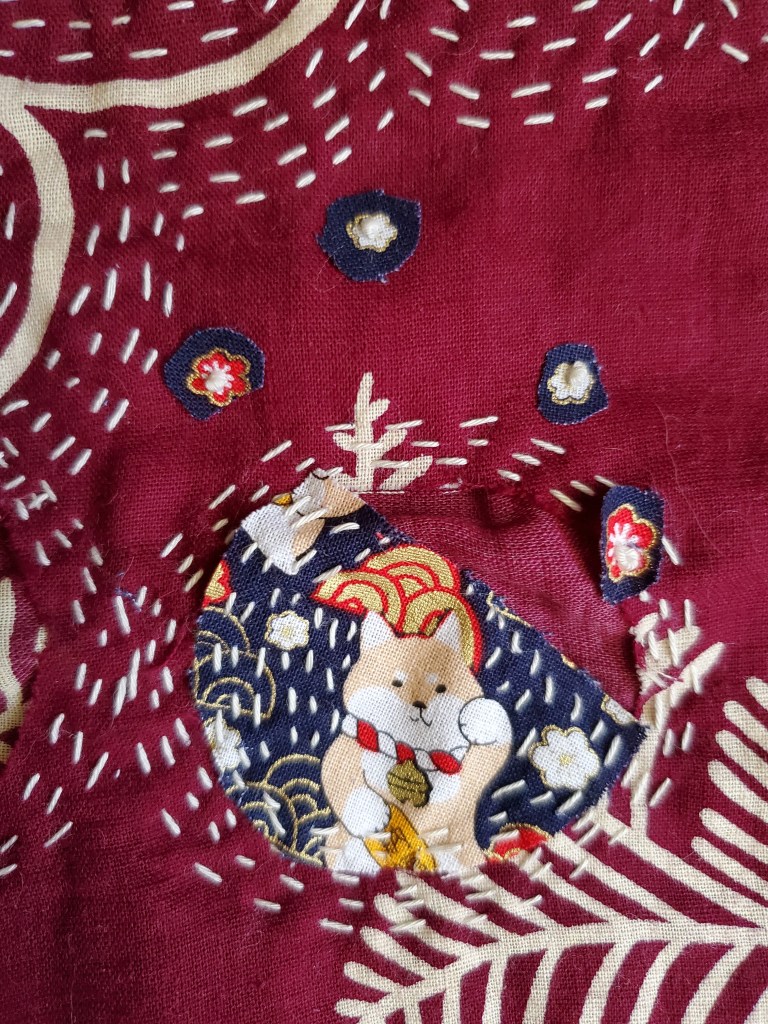
shiba inu patch
falling blossoms
flowerss
Here’s where I’m at. I know it isn’t finished. I hope I’ll know when it will be.
I hope the “third time’s the charm” comes true as this is my third time trying to post this. I’m starting from scratch deleted what was left of the post. I’ll try and keep is short.
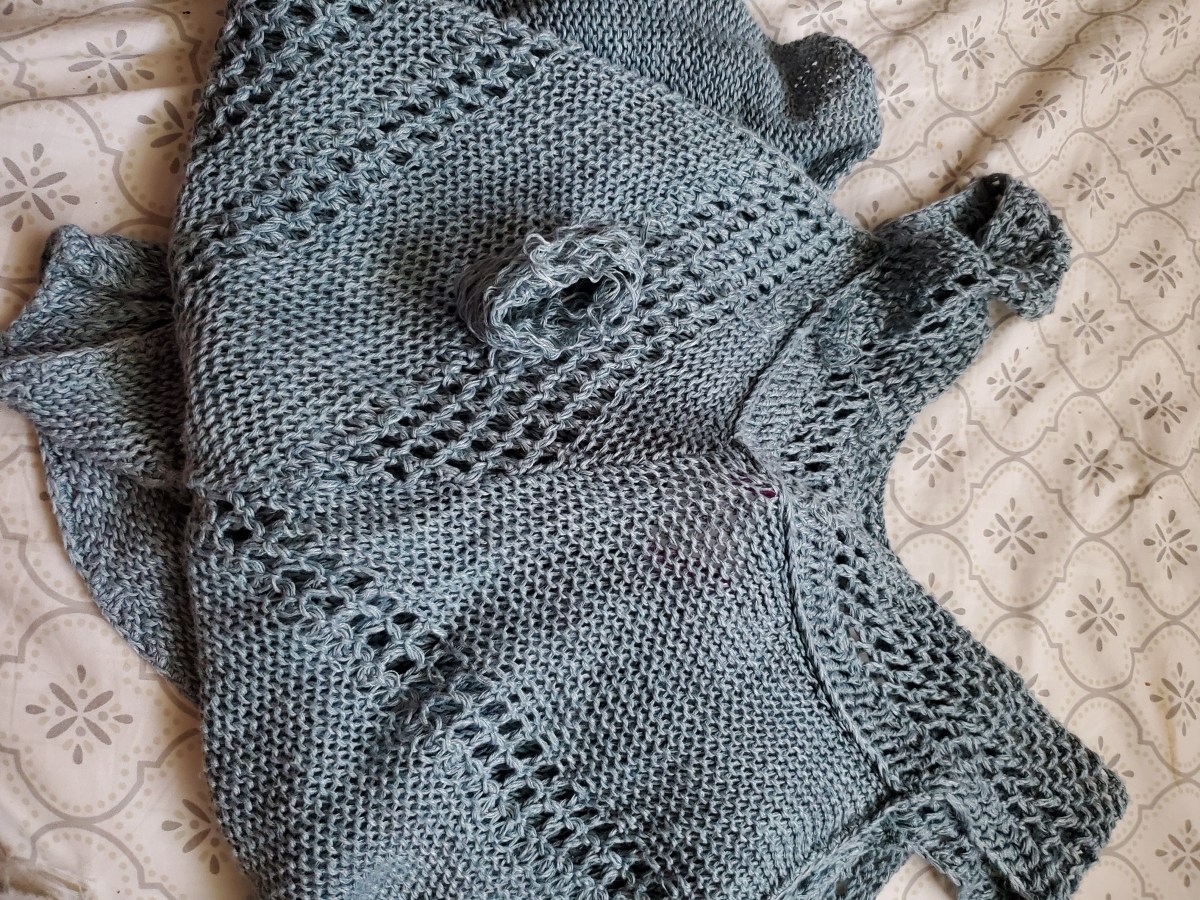
I went out thrifting on President’s day, looking for fabric and yarn for my inventory for my Etsy shop (opening in March). Yarn selection was a bust, just a bunch of bland acrylic yarn. But in my roaming for a good deal, I spied a knitted top hanging at the end of the ladies dresses.
“Hmmm. This looks interesting.” as I walked up to it.
The frogging (knitting term for ripping out) begins
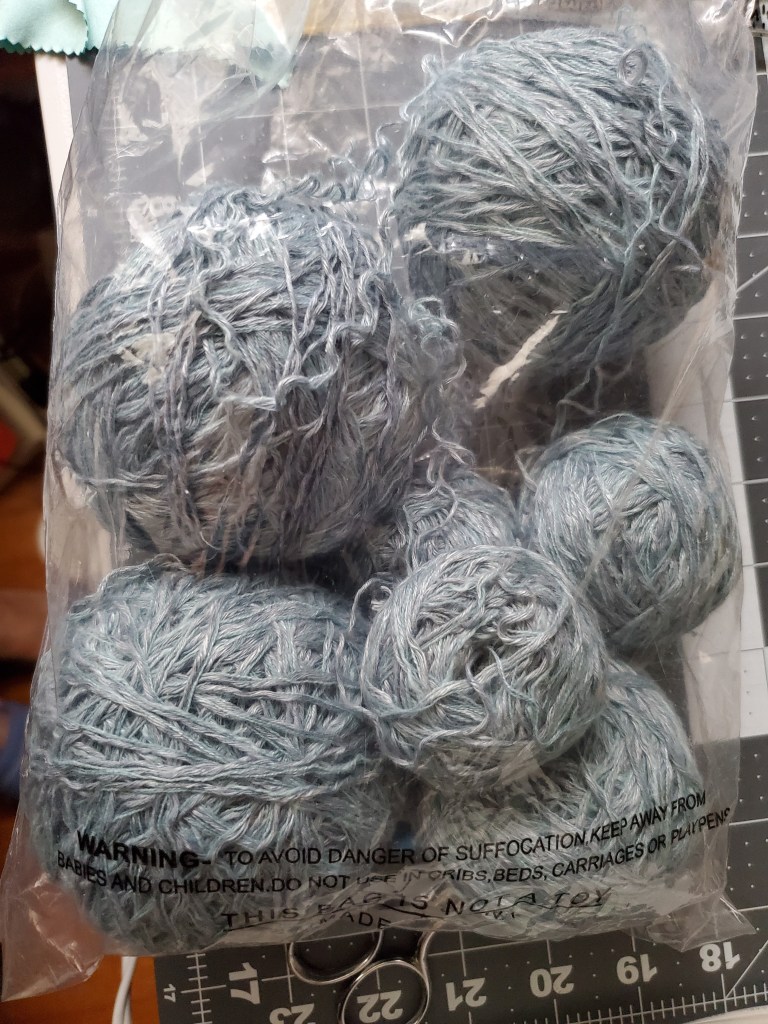
It looked hand knitted but had a Free People tag. It was linen, cotton, and rayon blend yarn of worsted weight. It was unravelling at the shoulder strap and I guess that what it got put back on the rack. Unravelling is good sign as I just want the yarn and would be taking it apart. The price was $8.49, less than one skein of this type of yarn and I probably get at three skeins worth.
In the end I bought it for $8.49 plus 25% off because of President’s day and good 360+ grams of yarn.
By the way, I google this top and it was originally selling for $148. I think I got a good deal, don’t you think.