Recipe Testing: Brussel Sprout Shiozuke

My parents never had brussel sprouts before I roasted some up for dinner the other night. My Auntie M was telling my mom how delicious they were so I decided to make some and my parents enjoyed them. My mom kept asking about them and how they grew and that they reminded her of little cabbage. This made me think I could make some pickles with them.

pre-prepped sprouts

I’m not sure if I every explained what tsukemono is. Tsukemono is Japanese pickles. You may have gotten them with your meal at a Japanese restaurant. There are several different styles of pickles. For the brussel sprouts, I’ll be using shiozuke, salt pickling. Just One Cookbook has a great description on shiozuke. Here’s the link: https://www.justonecookbook.com/tsukemono-shiozuke-salt-pickling/

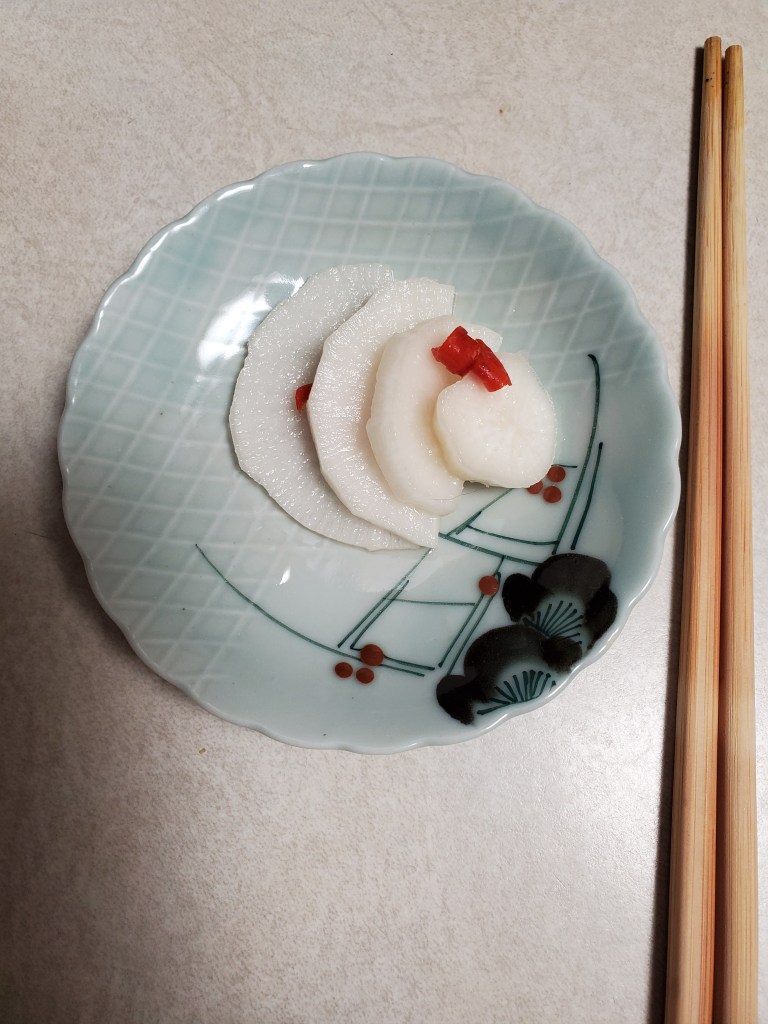
I still had half a bag of sprouts and I decided to try them out with the cabbage tsukemono recipe from justonecookbook.com. This recipe has cucumbers in it. I didn’t have any so it was all Brussel sprouts, little dried chili, and sliced Kombu (seaweed).

Brussel Sprout Shiozuke
adapted from justonecookbook’s Japanese Pickled Cabbage

1/2 bag of organic Brussel sprouts (about 750gm), cored and quartered
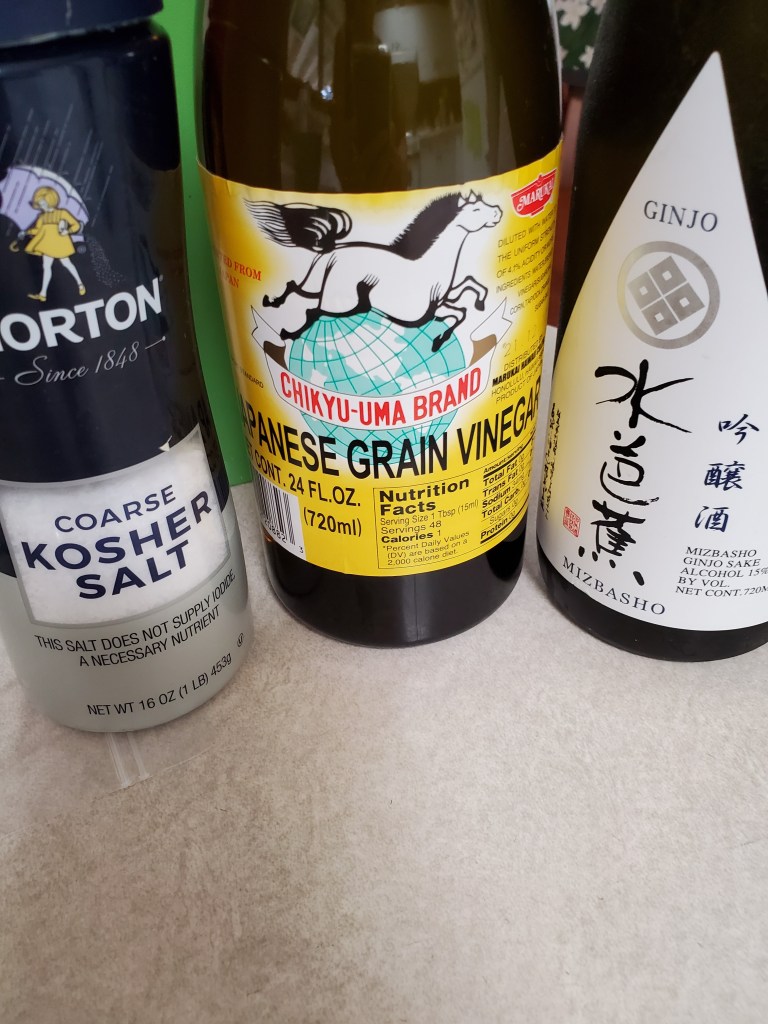
1 3/4 t sea salt
1 dried chili, sliced
2″ x 2″ piece of Kombu, sliced

Add sprouts into a ziplock bag. Then add the rest of the ingredients and massage salt into the sprouts. Squeeze out as much of the air from the bag. I place the bag into a baking pan and add weights to it. I try and get at least 5 pounds on it. I usually flip it and massage the sprouts after the first couple of hours to see if it has produce some water. I leave it on the counter with the weight for the rest of the day. Then refrigerate it. It’s ready to eat the next morning. We eat with our meals just a little side dish for everyone. It’s crunchy and sweet from the brussel sprouts. We finish it in a week or so.*


*I feel like I need to add a giant note here. I’m a newbie at tsukemono and this is my first batch with Brussel sprouts. I wish I took better notes but I didn’t. And I didn’t realize so many people would be show interest in this recipe. Please bear with me with this recipe. Thanks.

For the salt, it’s approx. 2% of salt to the weight of sprouts. I may have add slight more, maybe 2 t. because I thought it would help soften up the firmness of sprout.

The chili that I use isn’t too hot. Not sure what type it is, it’s red, about and 1″ to 1.5″ long. If you don’t like hot you probably can leave it out. I’ve used to add fresh chili when I didn’t have dried but that is much hotter. I use a kitchen scissors to chop it up

Kombu is edible dried seaweed. It comes is sheets or strips. I used a strips version, like this can be order from Amazon. You also can eliminate or substitute it with sliced ginger or lemon rind. It will slight change the taste but still I’m sure it will be delicious.

The only other note I wanted to add was I thought this recipe turn out delicious and I think a Kimchi version would be great, too. I haven’t tried kimchi yet but when I do, I’ll make a sprout version.

Advertisement

Our Happy Thanksgiving Menu

As a three seniors (60+) family, it is hard to find a small turkey that we wouldn’t be eating for the next month. Plus, I found out my mom doesn’t like turkey. What! Who doesn’t like turkey? Well, in my life, this makes two. Oat tolerated it for my love of turkey, and now it’s my mom. Huh!

Dad’s annual Thanksgiving drawing. Loves to draw on newspaper. #jo1drawings

With no help from the parental units, I came up with the menu of shrimp tempura, veggie tempura, and mom’s famous pumpkin shortbread.

Mom’s eyes are close but it’s the only shot of the table: shrimp tempura, eggplant, veggie tempura; Okinawan sweet potato, Hamakua mushroom, three types of tsukemono (Japanese pickles by me), black sesame tofu with ume salt, black soybean natto with shoyu koji

Everyone loves mom’s pumpkin pie even people who hate pumpkin pie. It’s the combination of the creamy custard and the slightly sweet shortbread cookie crust. I have fiddled with this recipe over the years, changing the pan shape and size, using sweet potato, and even trying it with a regular pie crust (not the best). My sweet potato pie is based of this recipe. Here’s my adjusted version.

The corners are the best with it’s caramel edges

Mom’s Famous Pumpkin Shortbread–adjusted

makes 9 x 13 pan, roughly 20 pieces
Pre-heat oven 425º

Crust*

  • 3 c flour
  • 1/2 c sugar
  • 1 c cold butter, cut into small pieces

Prep pan with a light coat of non-stick spray, be sure to get the sides. Mix flour and sugar, cut in the butter with a pastry cutter, till a sandy texture. Press flour mixture into the pan, slightly up the sides. Refrigerate crust while you mix up the filling.

Filling

  • 4 eggs, beaten
  • 1 t salt
  • Large can of pumpkin about 3 1/2 cups**
  • 1 1/2 c sugar
  • 1 t cinnamon***
  • 1 t ground ginger***
  • 1/2 t grounded cloves***
  • 3 1/2 c evaporated milk
  • 1 t vanilla

Combine all the filling ingredients, making sure it is blended well. 

Pour the filling into the crust—Bake at 425º for 20 minutes. Turn down the oven to 350º and bake for 55 minutes or when the toothpick comes out clean. 

*If you want to use the springform pan instead of the 9×13 pan, half the crust amounts. The baking time will differ because it has a thicker filling. It has a longer bake time at 350, about 1 hour 15 minutes. Test with a toothpick. The center shouldn’t be jiggly. Cool to room temp. Then put in the refrigerator to set.

** I’ve used both can and roasted pumpkin for this pie. The differences would be you can control the caramelization, chunkiness, and you will have pumpkin seeds to roast up as a snack. My preferred pumpkin is Kabocha because of its smooth texture.

*** I use my spice mix. Here are the proportions: 1 t cinnamon and ground ginger, 1/2 t ground cloves, 1/4 t nutmeg. I mix up a large batch and keep it in a small jar in the spice cabinet. I used 3 t of the mix in the pie. You also can use it in apple pie, oatmeal, or whatever suits your fancy.

Recipe testing: daikon and green papaya

Decided to try out a daikon (Japanese radish) Tsukemono recipe. I had a daikon left of from my tonjiru recipe and I’ve been wanting to try this recipe for a while.

Pickled Daikon

Here’s the link to recipe: https://www.justonecookbook.com/pickled-daikon/

slices of daikon

I peeled and sliced the daikon into 1/4″ thick slices. Then everything goes into a ziplock bag.

rest of the ingredients for the pickled daikon

Toss in rest of the ingredients (kosher salt, rice wine vinegar, sake, chopped dried chili, and sugar) into a ziplock bag with the daikon. I didn’t have dried chili so I tried a small fresh chili.

Lock the bag and mush all the ingredients together. Open and close bag, getting as much air out of bag. Toss in the refrigerator and let sit for 2 days. I turned and mushed the ingredient around after the first day to distribute the brine again.

after 2 days of fermenting

Green papaya salad

We got four green papayas from a friend who cut down their tree. Decided to try green papaya salad recipe from norecipe.com. Here’s the link to the recipe: https://norecipes.com/green-papaya-salad-recipe/

prepping the green papaya for the salad

I peeled and shredded the papaya. I use a julienne peeler but you could use a mandolin or do the the Thai way with the knife. I took the easy way out. The green papaya was to be hard to the touch, and the skin was shiny. One was a bit riper than the others but was okay to use.

dried shrimp soaking in water

I soaked the dried shrimp in water to soften up and started to prepare the dressing.

dressing of fish sauce, lime juice, garlic, sugar, and chili pepper

The dressing has fish sauce, lime juice, garlic, sugar (coconut sugar if available), and fresh chili pepper. You can use a mortar and pestle or food processor to bring it together but I chopped the garlic and chilis well and mixed to gather in my measuring cup.

Also in the salad is grape tomatoes, halved, green beans, sliced into 2″ sections, chopped peanuts, and chopped cilantro. Add all the ingredients to a bowl and toss well. I made this ahead around midday to have it at dinner. I let it rest and marinate in the refrigerator till it was time. I forgot to take a picture of the finish product but got one a day old.

leftovers for tonight’s meal

It was delicious and would definite make again if I can get the green papaya.

Recipe testing: Tsukemono

I’ve been on a kick with Japanese pickles, tsukemono. I followed a recipe from Just One Cookbook youtube channel for Shoyuzuke (soy sauce pickles). She made on sauce with 4 different veggies. I decided to try the cucumber and celery version.

Link for the recipe: https://www.youtube.com/watch?v=7NLBQi1REhw

Japanese cucumbers

I made this version before and really like them. This batch I added the shredded salted kombu and minced ginger. This time I sliced the cucumber thicker than previous version.

I salted and massaged the cucumbers, let it set for about 5 minutes to get excess water out. I followed Just One Cookbook and used a dish cloth to get as much water out as possible.

Then I added them to mason jars but didn’t add the glass weights that she uses in the video because I didn’t have any. Here’s the link of ones that I’m thinking of buying https://smile.amazon.com/Fermentation-Vegetables-Submerged-Fermenting-FDA-Apporved/dp/B079NXB6R5/ref=sr_1_3?crid=3J6GA8YYCAGBU&dchild=1&keywords=glass+weights+for+fermenting&qid=1594837940&sprefix=glass+weights%2Caps%2C237&sr=8-3

I used 3 large Japanese cucumbers and it filled 3 quart size large mouth mason jars. I added the salted shredded kombu (soaked in water to soften then squeezed out the excess water) and minced ginger.

I made 3 recipes of brine, to for cucumbers and 1 for the celery. I add the brine to the 3 bottle. Brine will not come up to the top of the bottle, probably about 1/2 to 3/4 of the way. This is where the weights comes in but I didn’t do since I didn’t have it.

Instead of weights, I just shook the brine around in the bottle, tipping the bottle upside down. I kept the cucumbers on the counter for about 2 hours shaking the bottle when I remembered. Then in the refrigerator. They are ready to eat in 3 hours.

Celery

I didn’t get pictures of this process but I had celery that I wanted to use up. I followed the recipe per the video and I made enough for one bottle. I used the same shaking technique as the cucumbers.

Here’s the final product of my work.

celery on the left and cucumbers on right

Final review from Joe and Cora: Oishii (delicious in Japanese)

My review: love the crunch and the flavor of the celery. Like the what the sesame oil in this version. Cucumbers are better thicker and love the combination of kombu and ginger.

Worth the try. Great on the salad and no dressing needed. Next up daikon tsukemono.